
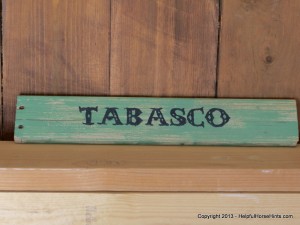
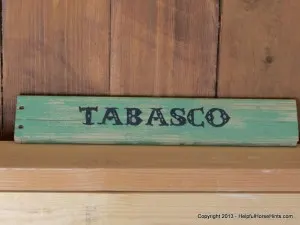


Custom, hand painted stall signs look great on a horse’s stall. This tutorial shows you step-by-step how you might go about hand painting a stall plaque for your horse.
This is project is simple and easy enough for a group of pony clubbers. Total spent on this project = $0.00. You should be able to scrounge up most of the materials. I had everything on hand!
This post contains affiliate links. Please read my disclaimer for more information about affiliate links.
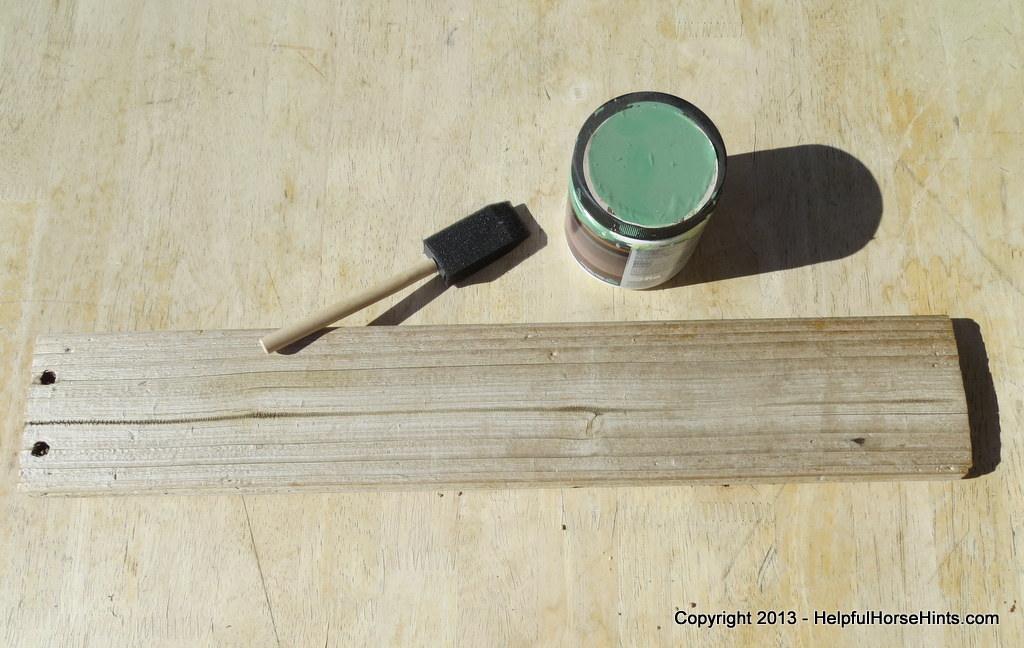
Stall Sign Materials:
- Reclaimed Wood Plank
- Paint (I used “mismatch” paint from the hardware store at $0.50 per container) but you could use craft paint too
- Foam brush
- Thin paintbrush for lettering
- Polycrylic or Polyurethane for waterproofing
- Ballpoint pen
- Printed horse name
Step 1: Assemble supplies
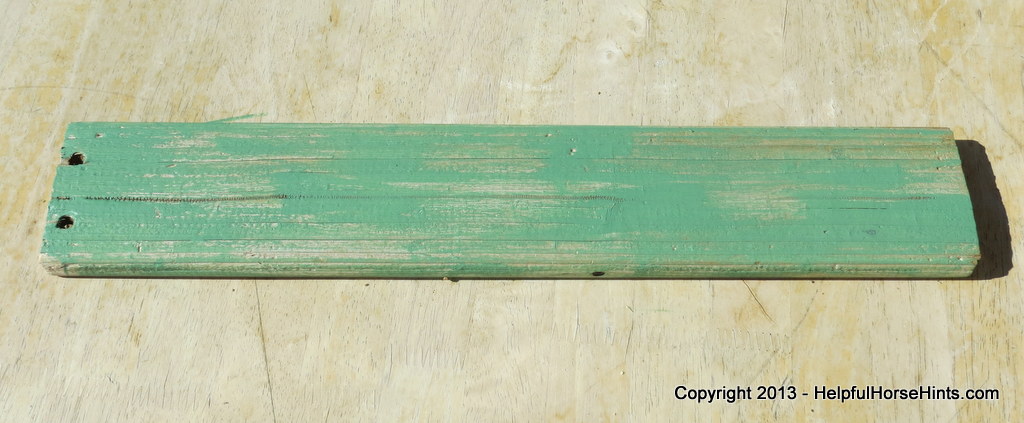
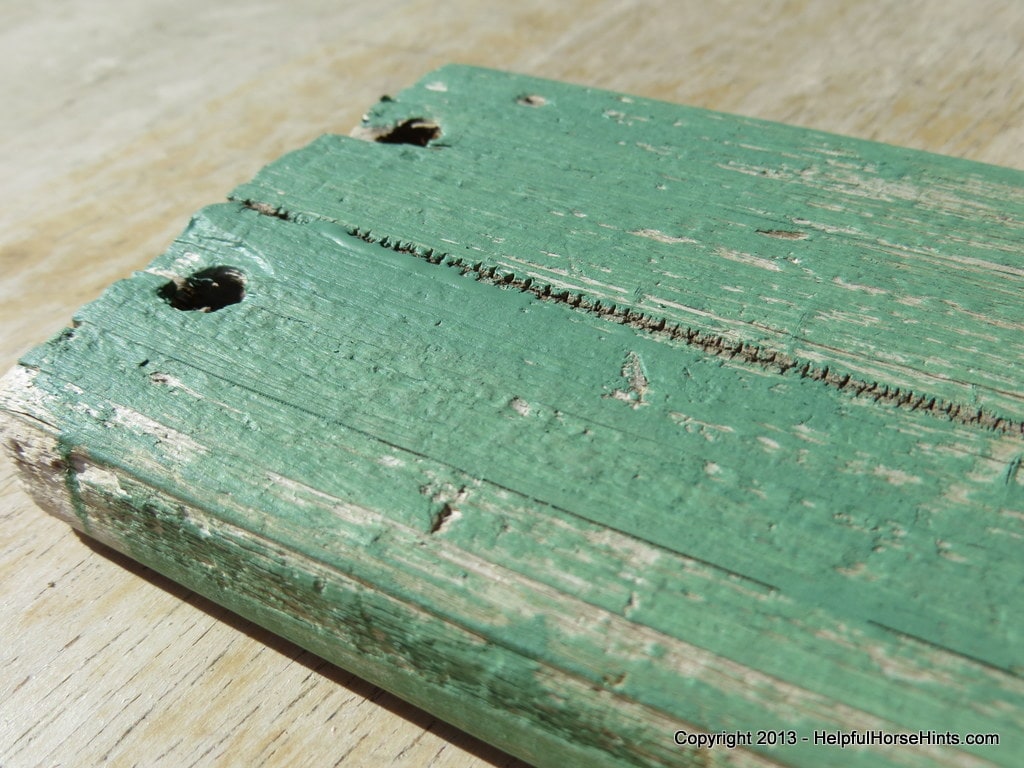
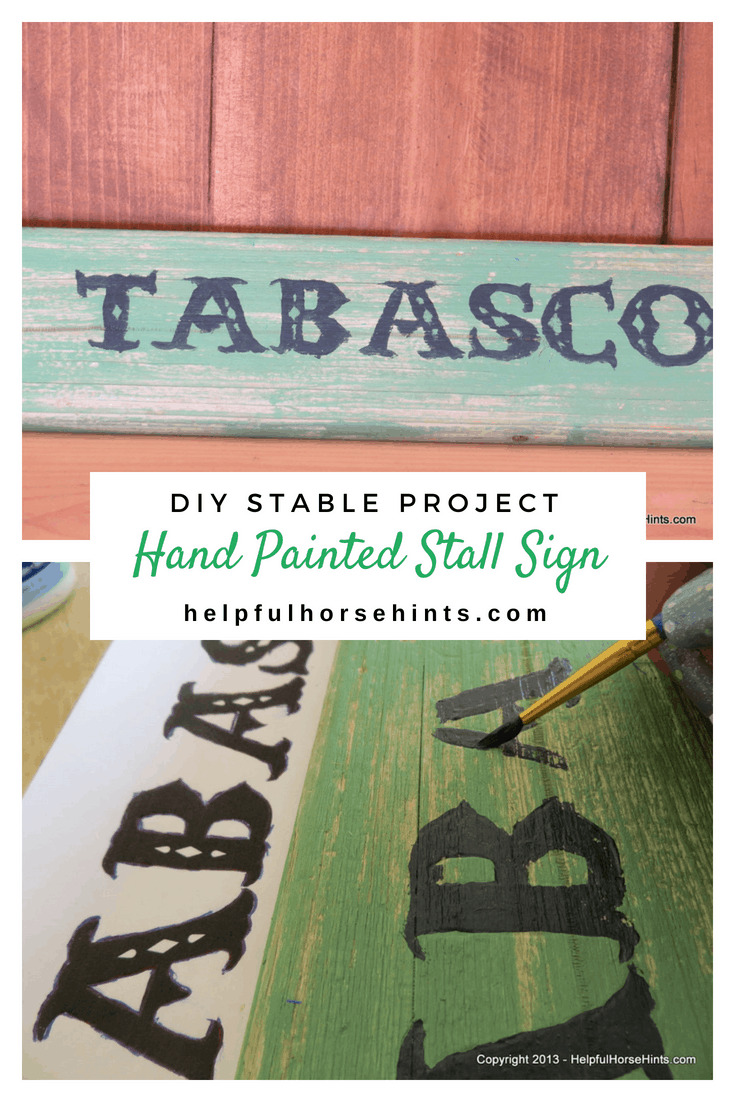
Step 2: Apply a thin coat of paint to the face and edges of the board. For a rustic feel allow some of the woods natural color to show through. Allow to dry. On a sunny day with a thin application of paint this took only a couple of minutes for me.
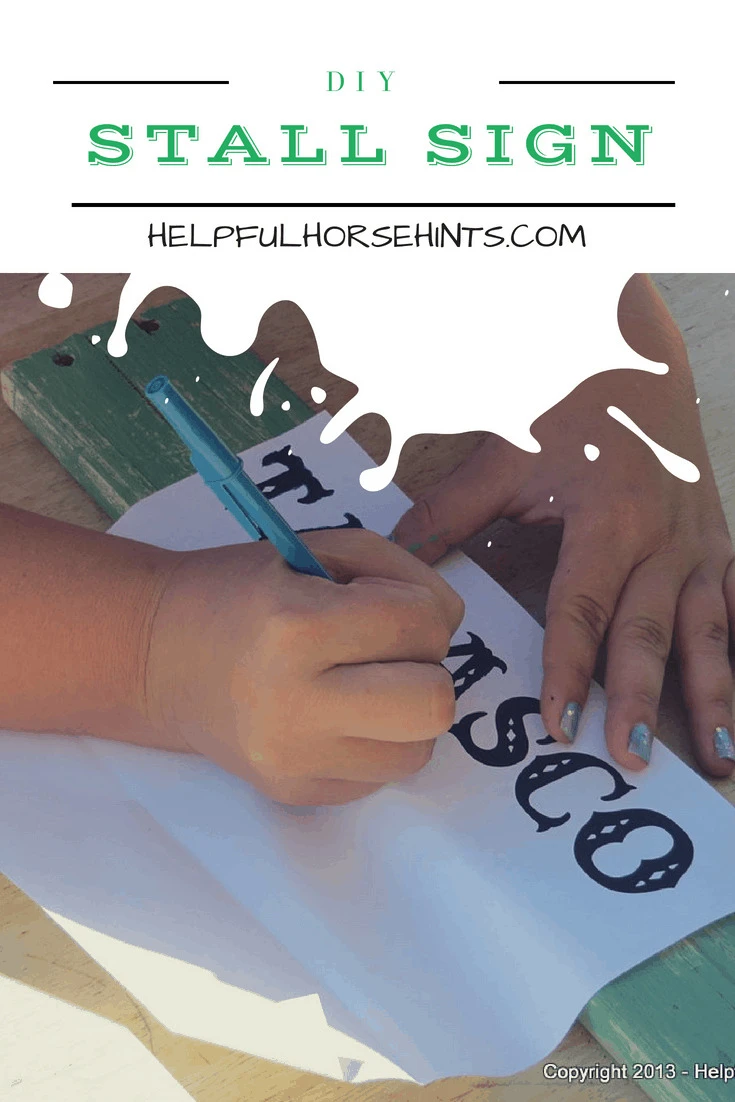
Step 3: Print horse’s name on a piece of paper in your desired font. For longer names, more than one piece of paper may be required.
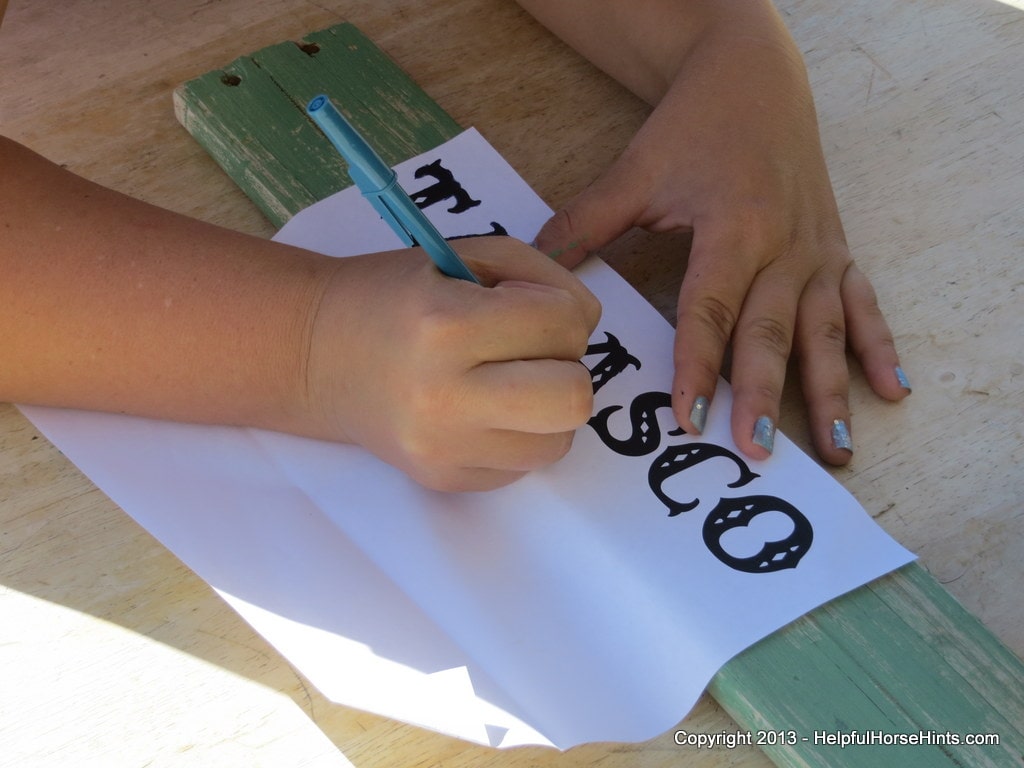
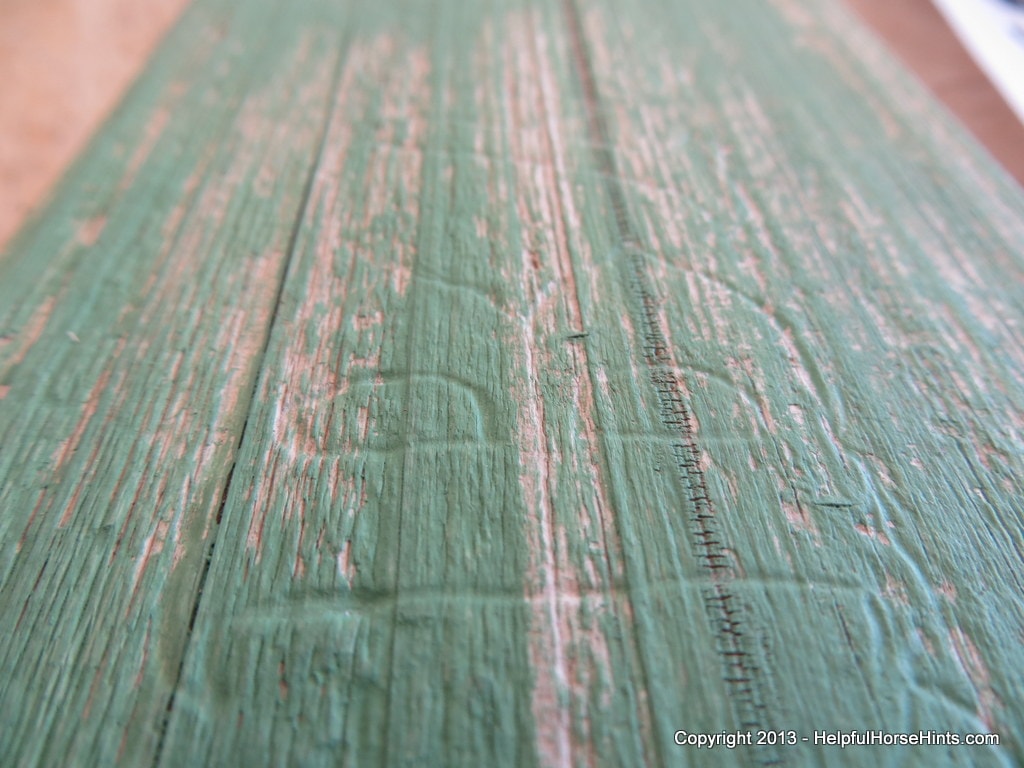
Step 4: Position paper on your board and trace letters with a ballpoint pen. This will emboss the wood. Tip: Using a blue pen makes it easier to see where you have been and where you still need to trace.
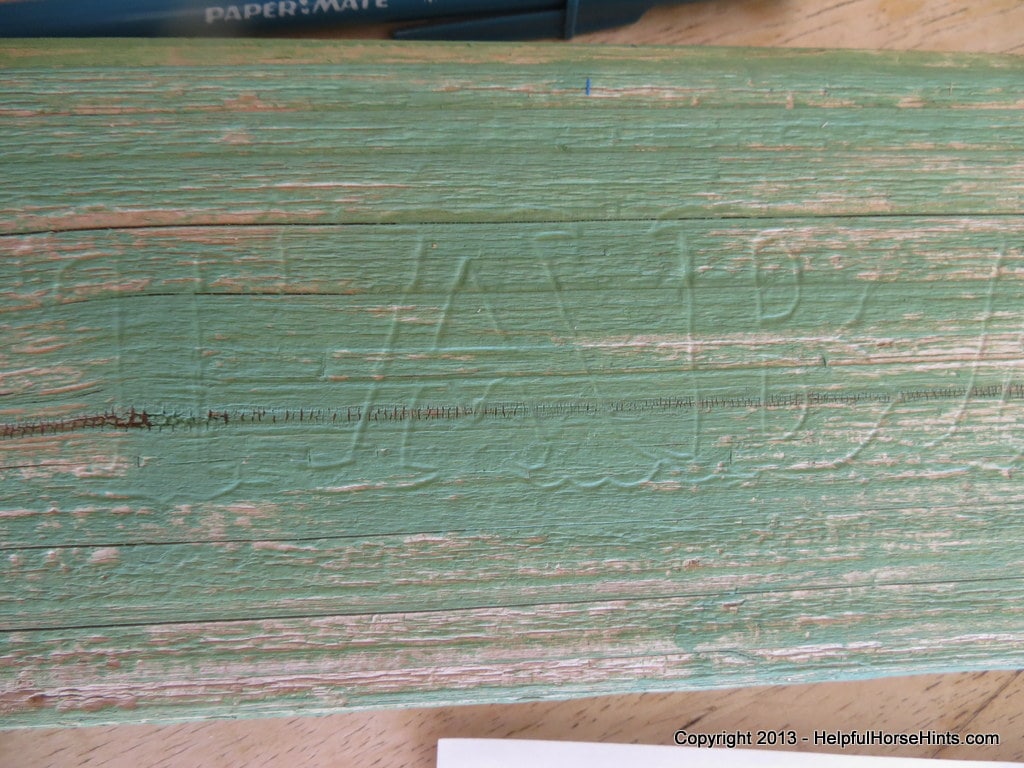
Step 5: Use your thinner paintbrush to fill in the letters of your horse’s name with contrasting paint. You may need to freehand parts that weren’t embossed properly…or you can even freehand the whole thing if you like!
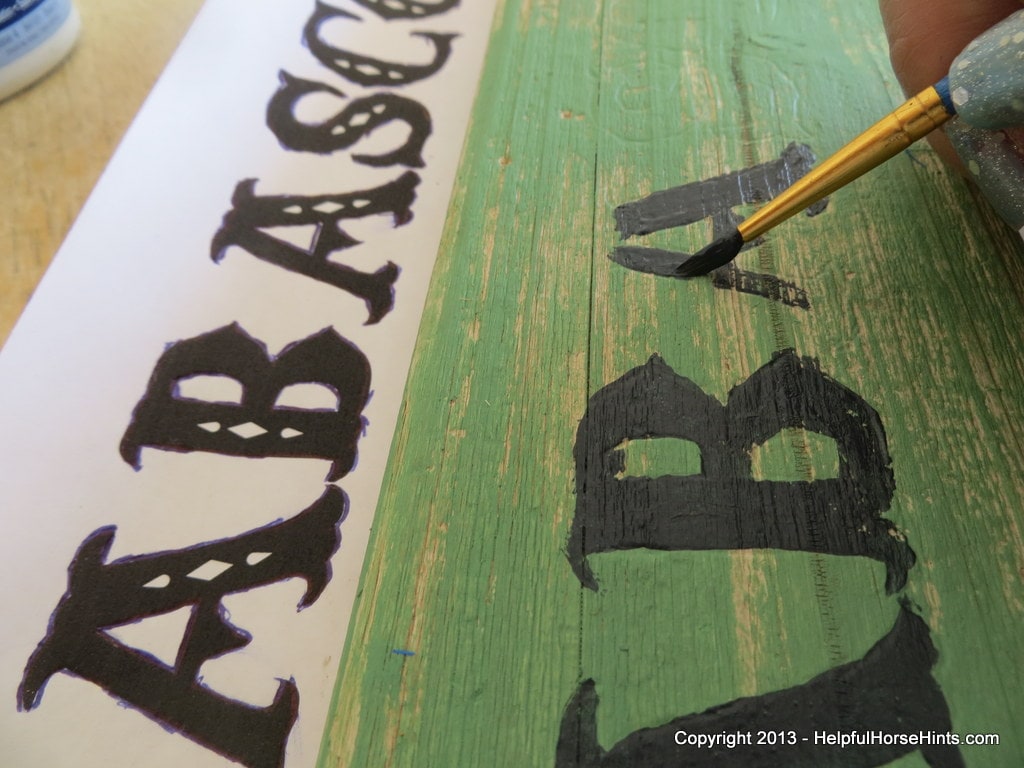
Step 6: Embellish as desired. Use your imagination here. My imagination isn’t that great so I filled in the embellishments from the font. You could do outlines, glitter, shapes, etc.
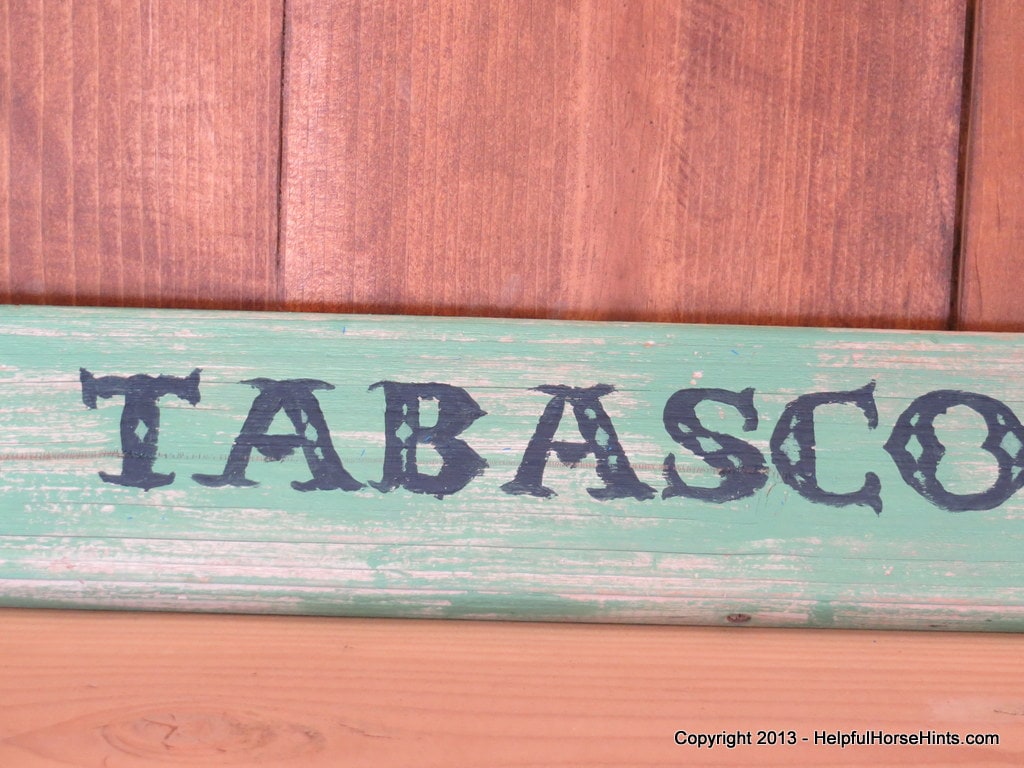
Step 7: Apply your waterproofing product to all sides of the wood and allow to dry. Use at least 2 coats.
Step 8: Hang or fasten to your horse’s stall and repeat to make one for a friend!
Notes: It’s OK to make a mistake. Don’t be overcritical of your painting. This is a hand-lettered project with a rustic feel. It’s OK if it is not perfect.
If you do make a mistake you absolutely must fix, sand the paint away and try again. If you really mess up one side, or if you just want to see if you can do it better, let the paint dry and try again on the back. Decide which you like best and paint the opposite side a solid color!
Because these horse stall signs are so easy to make you could quickly create one for the whole barn. If you do decide to make one I would love to see what design you come up with! Leave a comment or shoot me an email!
Resources
https://www.helpfulhorsehints.com/disclaimer/


Rachel Hedderman
Wednesday 8th of July 2015
What is the font you used on the sign?
admin
Thursday 31st of December 2015
Hi Rachel. I'm not sure what font we used for this one but dafont.com has GREAT fonts and you can preview them with your text before you install!