Sometimes when it comes to photographing horses, you just need to be creative. It isn’t always possible to have the perfect horse, camera, background and lighting all at the same time. Creative horse photography skills can be developed over time and result in great pictures in sub-optimal conditions.
But how do you get started?
The 7 key steps in creative horse photography are:
- Location
- Cleanliness
- Posing
- Having a Helper
- Camera
- Preparation
- Take Lots of Pictures
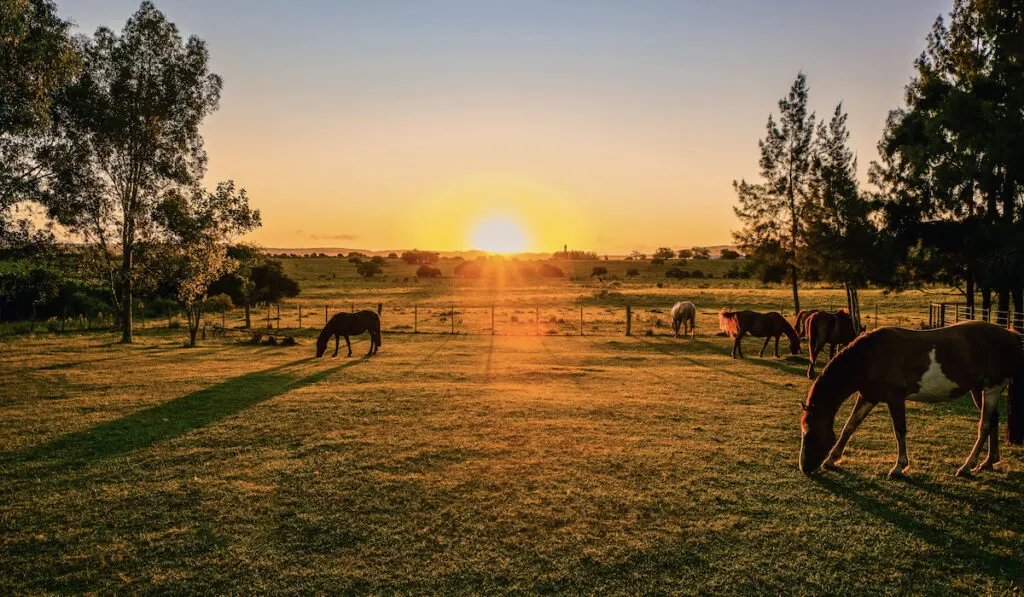
Table of Contents
1. Location
No matter where you decide to photograph your horse, remember to look all around your horse before taking a picture. There are a few things you want to be on the lookout for:
Check the Facility
- Is there trash around? Can you pick it up?
- How clean and tidy are things in the surrounding area?
- Are hoses neatly put away or coiled?
- Is horse manure removed
- What is the fly situation? Use a fly spray to try and get them under control.
Check the Background
- Are there any poles or trees coming out of your horse?
- Is the background distracting or junky?
- Are you in a safe area to work effectively?
2. Cleanliness
The cleaner things are, the better your horse photos are going to turn out. Not only should the horse be clean but also any tack in the picture as well.
Don’t forget the handler too. If you are going to be doing all of the grooming and are also going to be in the pictures, consider having a change of clothes handy. At a minimum, use a grooming apron to help keep yourself clean.
Check the following:
- Horse is as clean as feasible.
- Tack has been checked for cleanliness.
- Rider has no obvious stains, hair and clothing are in acceptable condition.
3. Posing
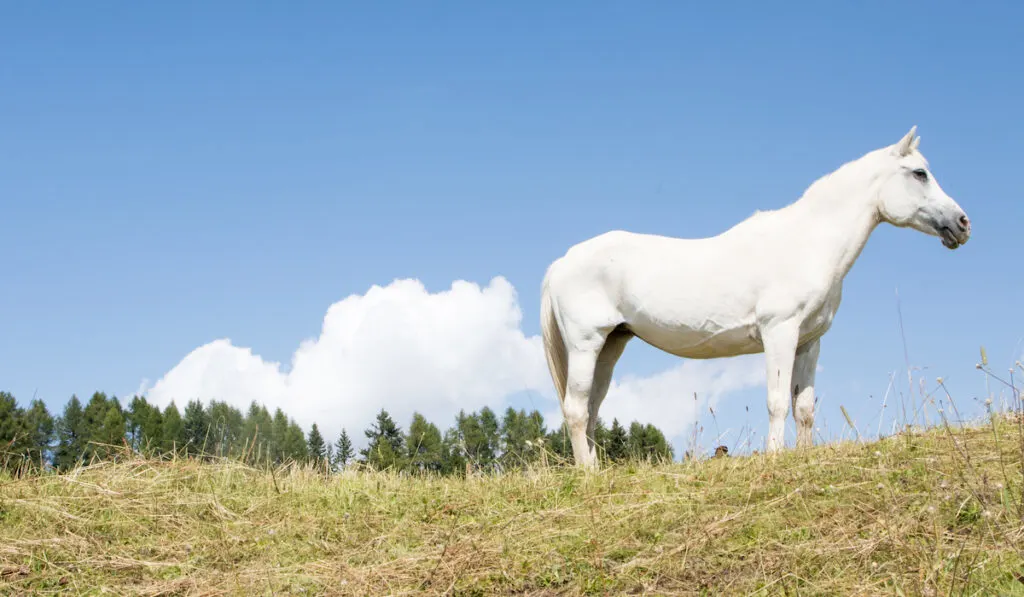
In step 1 we took a good look around the photography location to make sure things are in order. Sometimes you can’t control what is in the background. In those cases, you can start to get creative with your horse photography.
I highly recommend looking up photo ideas to use as posing inspiration for your equine photoshoot. Pinterest is an awesome place to create a photography inspiration board.
Remember, though, to create a separate board just of poses you like. This will come in handy when you are actually ready to start taking pictures.
Many breeds have poses unique to their conformation or discipline. Take this into consideration and start creating a “photo list” of at least 10 different poses you want to try to capture during your photoshoot.
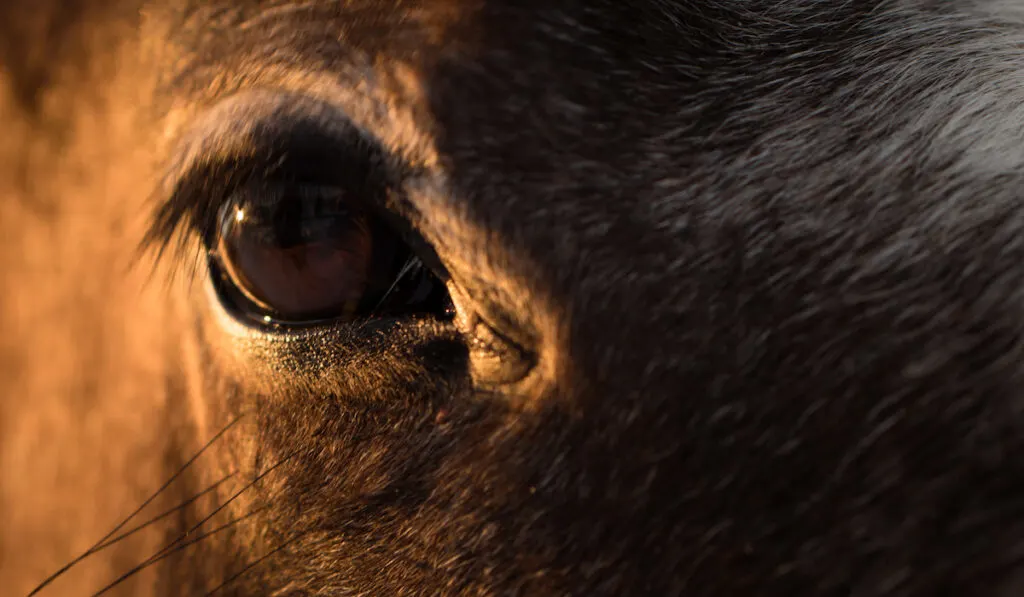
Remember to play with fun angles and closeups too. It is OK to be non-traditional. In fact, sometimes these result in some awesome photos!
4. Recruit Help
Having a helper is very convenient whether you are photographing your horse in a loose situation, like a turnout, or in a controlled environment like posed portraits.
As the photographer, you really need to be able to step back to see the whole “picture”. Your assistant should be responsible for repositioning the horse, getting the horse’s ears forward and moving the horse from one location to another.
In the video below, you can see how the assistant helps position the horse for the photographer so the model/owner can also stay in position.
If you and a friend can consistently help each other with horse photography sessions, you’ll soon find that you can predict what each other will want in a photo.
A horse experienced photography helper is always best, but in a pinch, a non-horse familiar parent or significant other will fit the bill as well.
5. Camera
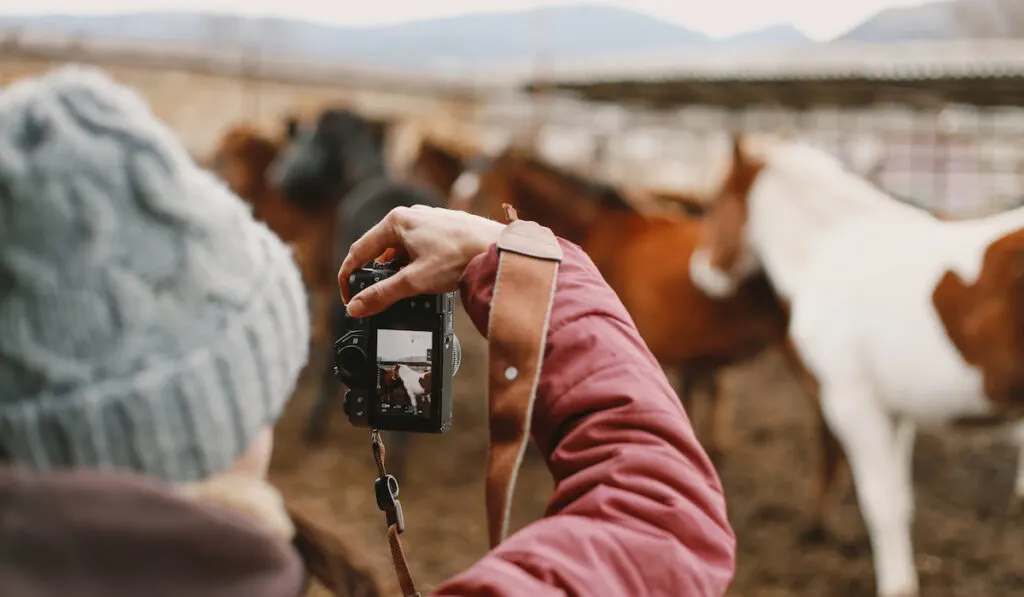
Photographing horses today is extremely different from what it was 10 – 15 years ago. Today almost everyone has a cell phone capable of taking great high-quality images.
Take some time to learn all of the features of your cell phone camera. My Google Pixel 3, for example, has an awesome portrait mode that automatically blurs the background for me. This is great for headshots and closeups!
For full-body portraits, you typically want to stand as far back as possible and use your cameras built-in zoom function.
There are a few things you will want to check on your cell phone before getting started with your equine photography session:
- The resolution for the camera is turned all the way up.
- The resolution for the video is turned all the way up.
- You are not using any filters.
- Take pictures in horizontal mode, not vertical.
Resolution is important because it gives you the best cropping ability without loss of quality. The file size for your photos will be higher, but the increased flexibility is so worth it.
You will also want to avoid using filters. There are a lot of effects you can add via apps or computer post-processing programs.
It’s best if you just let the camera take a “plain” picture, in horizontal layout and then you can always crop, add filters and play with colors later if you want your horse photos to look more creative.
6. Preparation
Your creative horse photography session is likely to go better if you are well prepared. Here are some ideas to help you prepare and stay organized:
- Make a checklist of props you may want to use and have them handy.
- Make a photograph list of all the photos you want to be sure you get.
- Try to take pictures during the early morning or late evening hours for best lighting.
- Have a “touch up” kit handy for you and your horse. At a minimum, a wet rag will help clean up slobber and horse boogers.
7. Take Lots Of Pictures
My final tip is to take lots of pictures. Way more than you think you will ever need or use.
In fact, if your camera has a burst function, experiment with using that. It is especially great for action shots.
The key here is that you can always delete photos you don’t wind up loving, but what you want to do is avoid having to do another photoshoot because you weren’t able to get the shot you really wanted.
Example Results
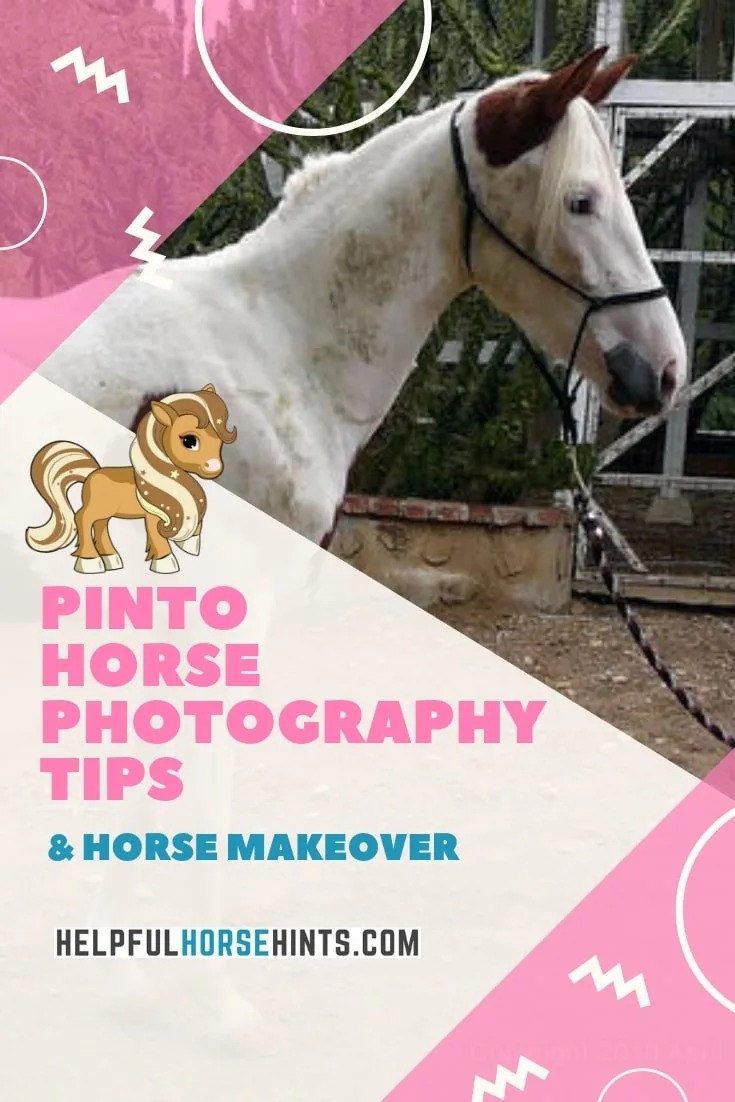
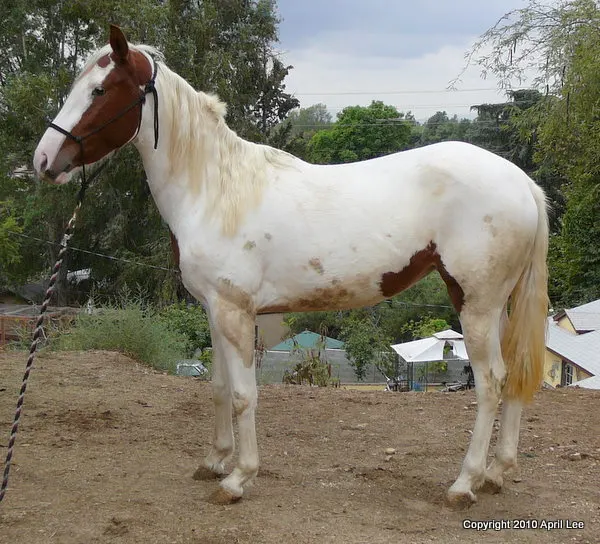
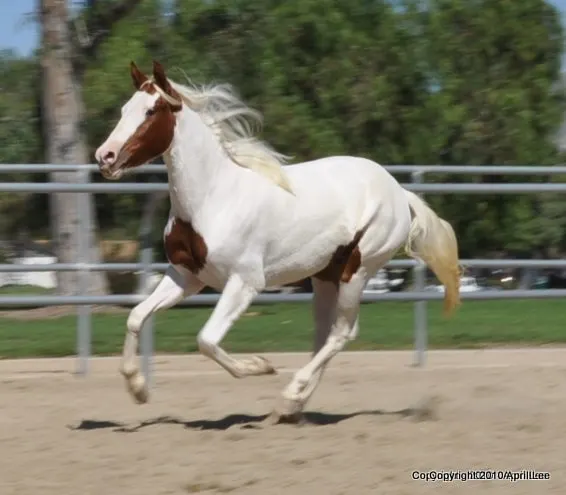
Rain was a gorgeous young half Andalusian / half paint horse grade filly we purchased for resale. Here are some quick “snapshots” I took of her shortly after I got her home.
Whether you are selling your horse or just taking pictures to post to Facebook or hang on your wall, there are some simple steps you can take to make sure your horse looks her best!
In these initial shots of Rain, we can see loads of problems:
- She’s dirty
- Not properly posed
- There are “distractions” in the background
- Some of the photos are blurry
- The lighting isn’t great
Before Photos:
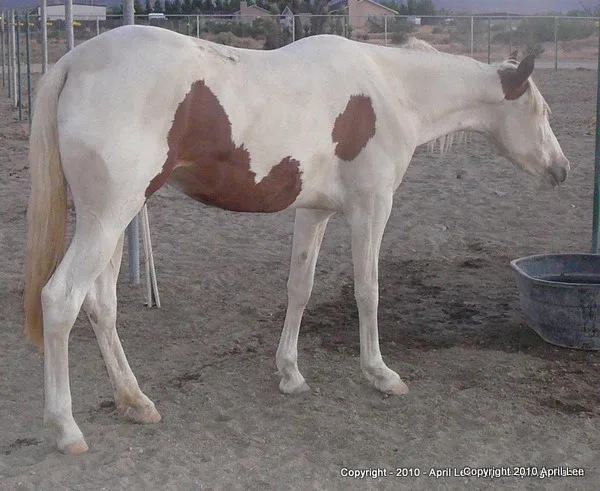
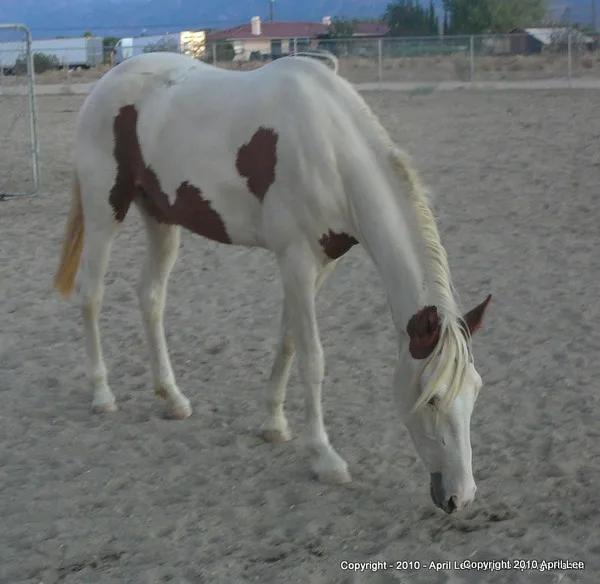
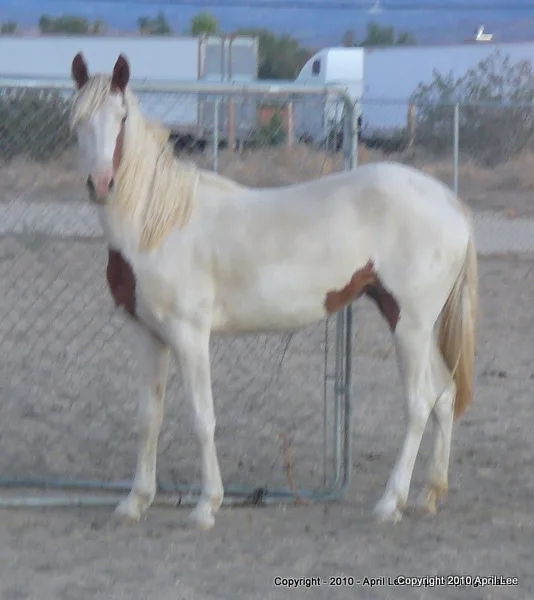
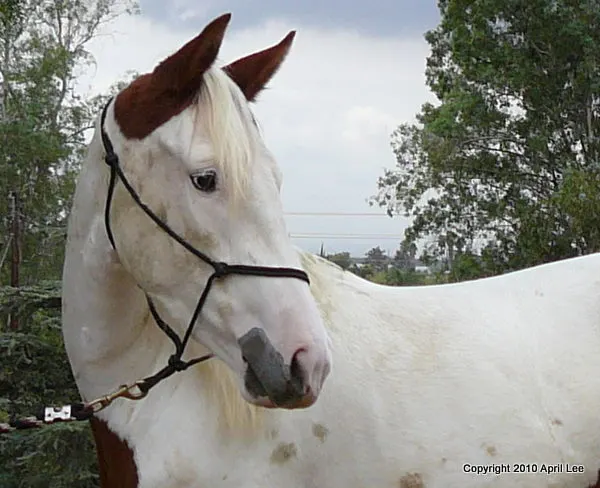
2nd Photo Shoot
These photos are definitely getting better. She’s still dirty but the lighting is better, more of a warmer shade due to the sun being out. She’s also posed for each shot.
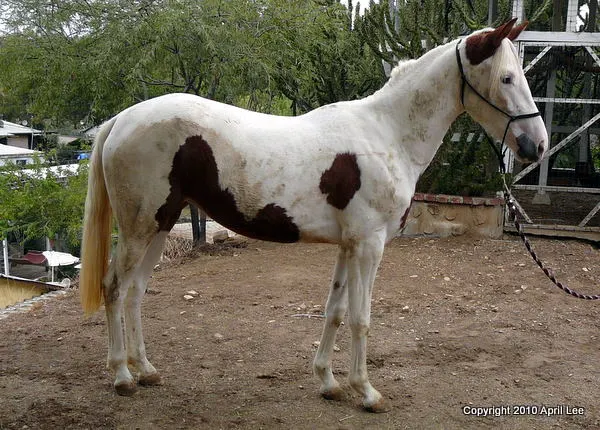
Final Photo Shoot
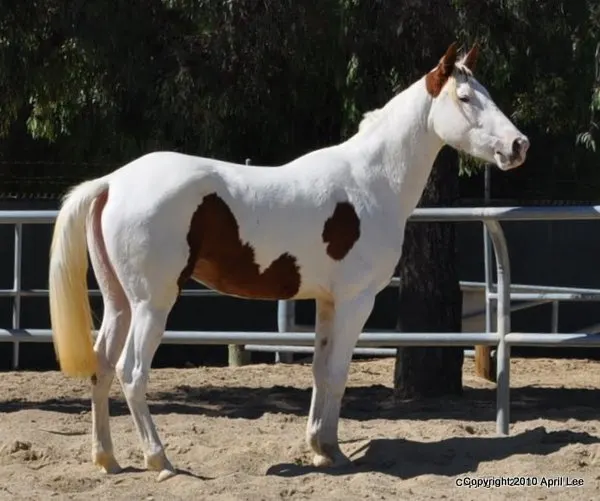
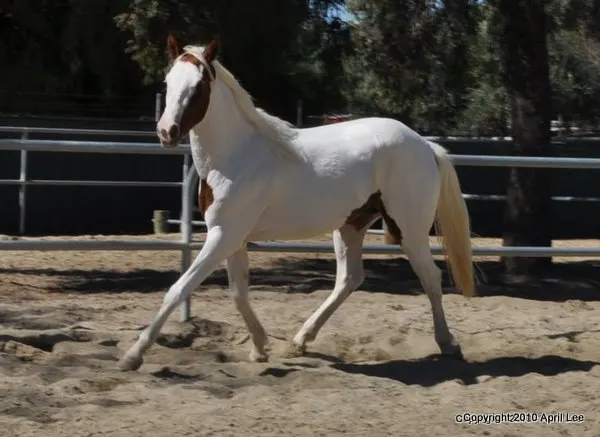
These photographs were the ones we used for her sale ad. She was freshly bathed, brushed and looking beautiful. We removed as many of the stains as we could from her coat and then walked her down to the local public arena.
About 20 minutes later we had a series of nice photos to use. These were some of the nicer shots. None of them were “posed” (we just turned her out) but the results were much better than the previous two attempts!
How we get our horses looking awesome!
Disclosure: We participate in affiliate advertising programs designed to provide a means for us to earn a small amount of money by linking to affiliate sites (such as Amazon.com). This in no way affects the price you pay for any item. Please read my disclaimer for more information about affiliate links.
These are some of our favorite supplies for prepping horses for photo shoots:
Horse Shampoo
Our favorite is Orvus WA Paste . It does a great job whitening horses but leaves any color horse super clean. It also leaves horse hair nice and silky. This tub is expensive but a little goes a long way with this soap and should easily last most people several years.
Mrs. Stewart's Bluing can be used to help with getting whites whiter. You just mix some in a separate bottle with the Orvus. Just be careful when you are first using bluing. Play with the ratios and duration. Use too much or leave it on too long and your horse’s whites will be blue for a few days!
Quic Silver is another great resource for whitening shampoo! It is a little more pricey than just adding bluing to whatever shampoo you normally use but the benefit is the ratios are already right!
- STUNNING SHINE and CLEAN feel after just one use.
- STAIN REMOVER, low sudsing formula rinses out quickly saving time.
- INTENSIFY and ENHANCE SHINE with long term use.
Hair Polish
Laser Sheen or Healthy Hair Care Hair Polish – Both are great products! Laser Sheen is a budget alternative to ShowSheen and the concentrate makes an entire gallon! I routinely stock both products and tend to use Laser Sheen on the body and Healthy Hair Care on the mane and tail but either works for both if you just want to buy one!
- Showstopping high-gloss formula produces a radiant shine
- Repels dust, dirt and stains to cut grooming time in half
- One application bestows a show-ring shine that lasts for a week
- Won’t make hair brittle and minimizes breakage
Face Highlighter
For the extra polish on some horses, we’d use Silverado Face Glo. On a horse like Rain with a pink muzzle, we would use clear. On a horse with a black muzzle, we’d use black. This really adds a nice sheen on the horse and accentuates their features in photographs.
- Size: 8Oz
Essential Grooming Supplies
For a list of our favorite grooming supplies, check out this post:
Other Horse Makeovers
Do you enjoy articles like this one showing horse makeovers? If so check these other ones out:
