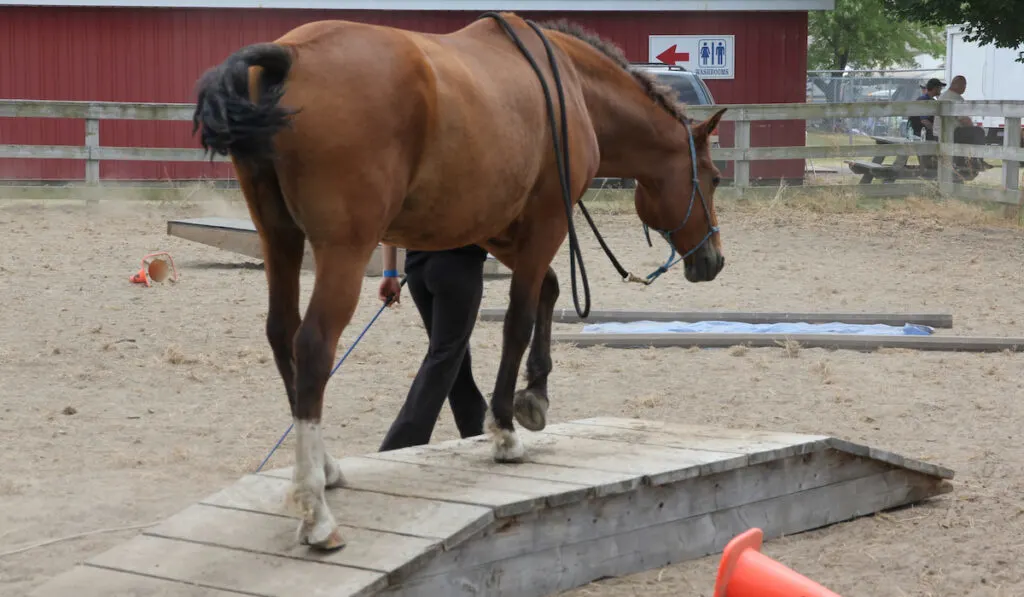
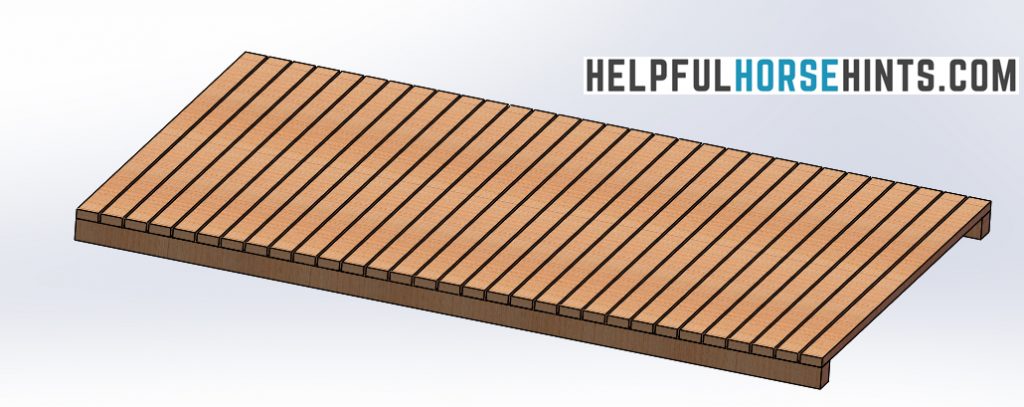
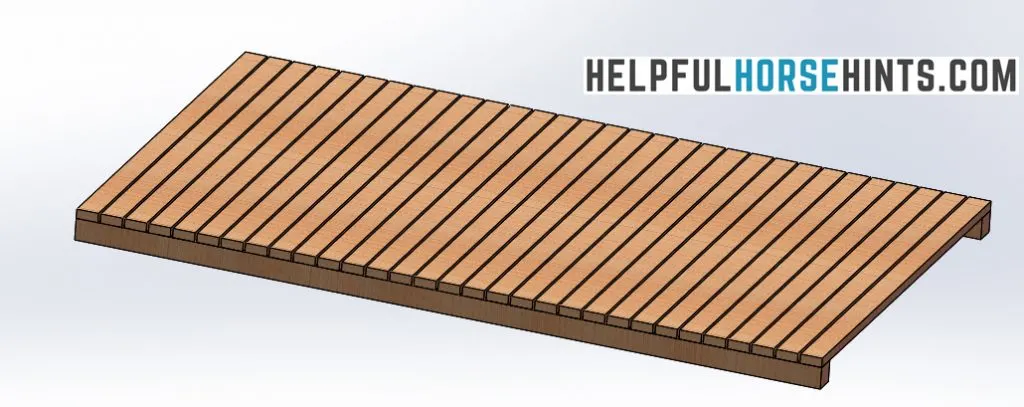
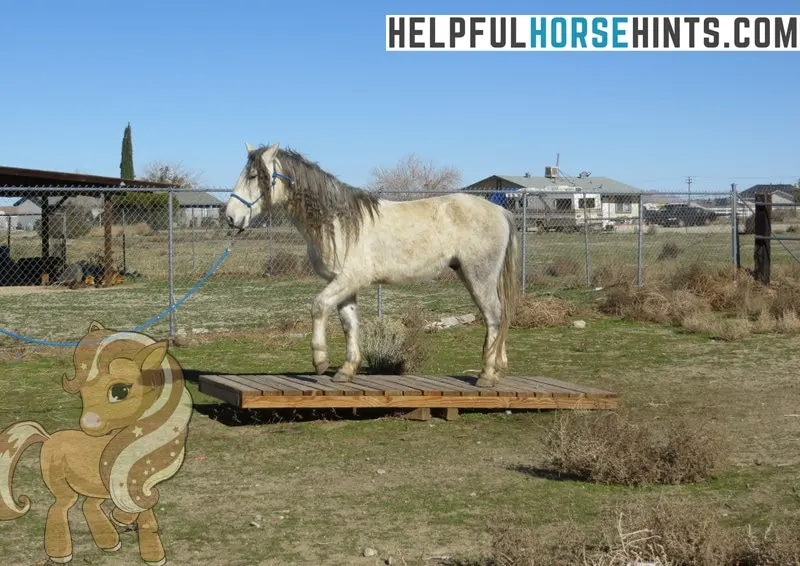
Building a horse bridge obstacle will help the horses at your barn become more confident about crossing new things. Once the basic bridge is built, you can do all kinds of things to make it “new” and different each training session.
We use the bridge primarily as a teeter bridge and haven’t removed the pole under the bridge for over 2 years. We’ve had horses as young as foals on it and even a big Belgian gelding but on a daily basis we use this bridge for your average stock type horse.
A horse bridge is great for teaching confidence. Some horses LOVE the bridge (my BLM mustang will do it all by himself)…others only cross it if they must. Each horse is different but this is a great obstacle none the less!

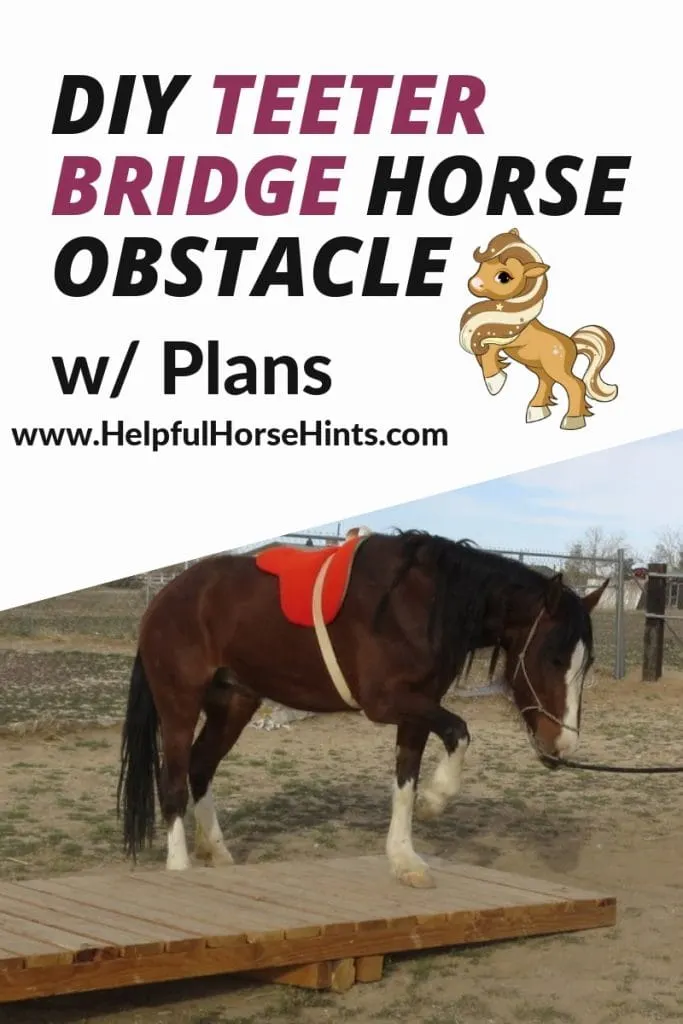
Table of Contents
Materials Needed to Build Horse Bridge
- 2 – 4×4×10 posts
- ~16 – 2×4′s (can’t remember which) (stud length)
- Box of nails or screws
- Hammer or cordless drill.
- Hand saw or circular saw
Materials Consideration
You need enough 2×4′s or 2×6′s to span the length of the 4×4′s at whatever width you desire. If you want a 4′ wide bridge you’ll need more boards than if you want a 3′ wide bridge.
If you are making the bridge 4′ wide you can cut a 2x4x8 in half to get 2 4′ pieces, or you could get a 2x4x12 and cut it into thirds. At 4′ width you probably want a third 4’x4′ going down the middle of the bridge for stability.
You could use pressure treated lumber. We didn’t and 7 years later it is still holding up fine. But we keep the bridge in a sand arena with good drainage AND it is setup as a teeter bridge so the whole bottom surface isn’t in contact with the ground, just one edge or another.
Construction
Disclaimer: These photos show how our bridge was built. It doesn’t mean this configuration will be safe or work for you. Our bridge was built by a general contractor for us. If you are not a handy person, considering printing this article and having somebody build your bridge for you.
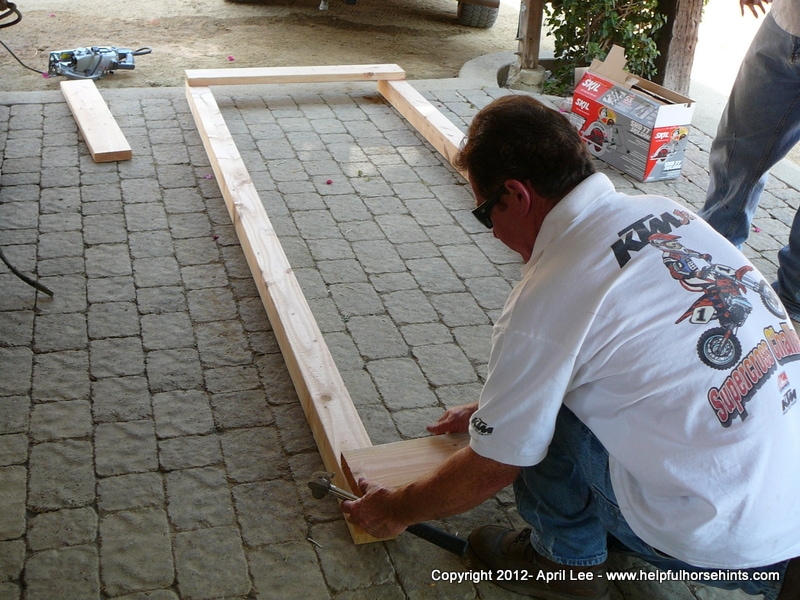
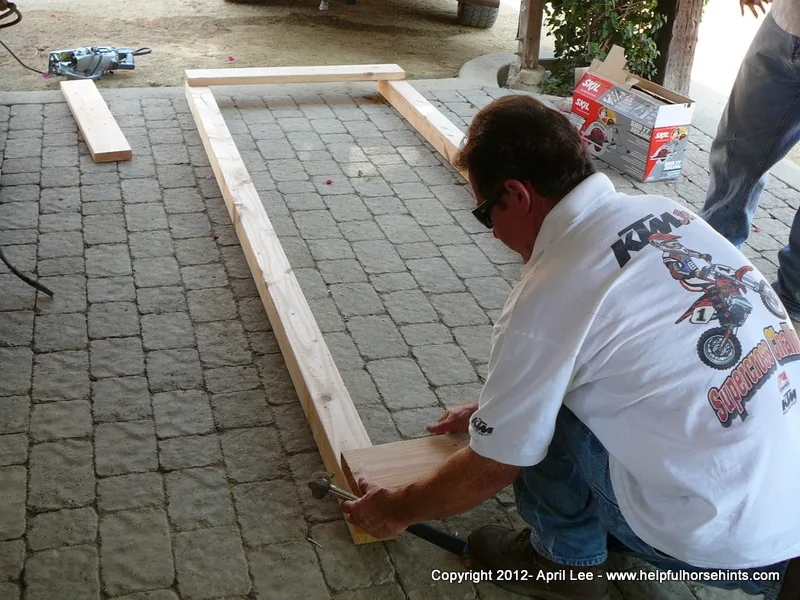
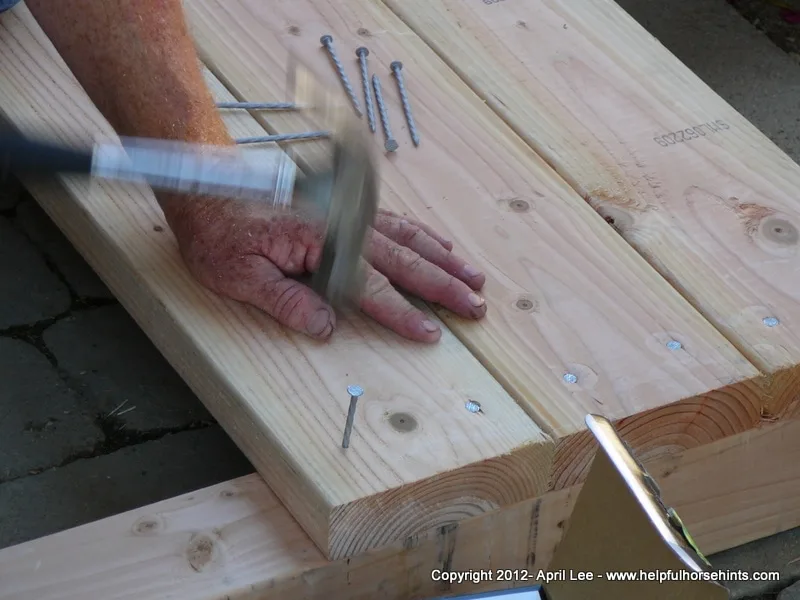
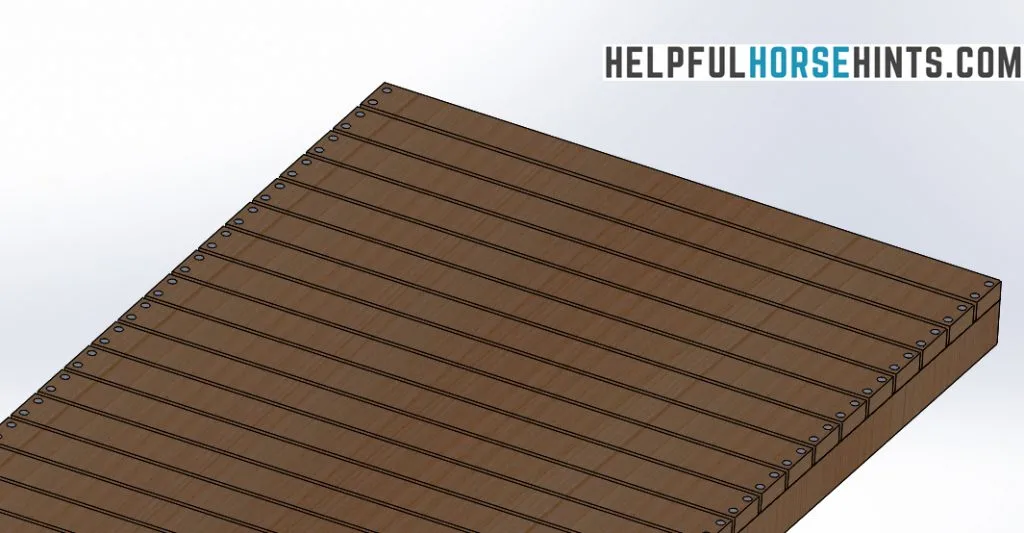
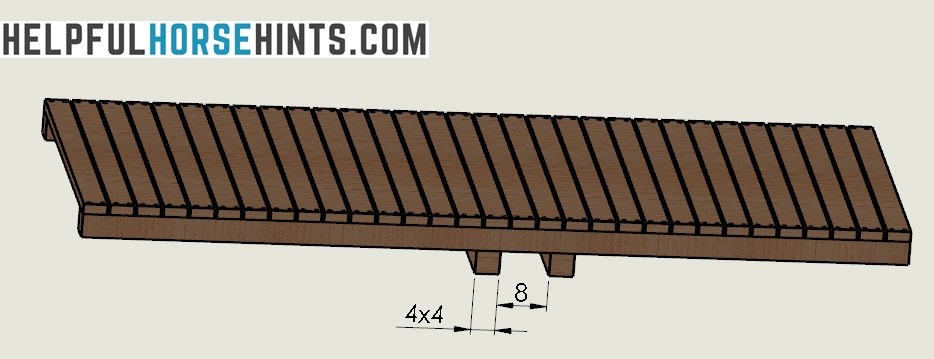
1. Lay out your four x four’s. Tack one 2 x 4 to each end forming a box.

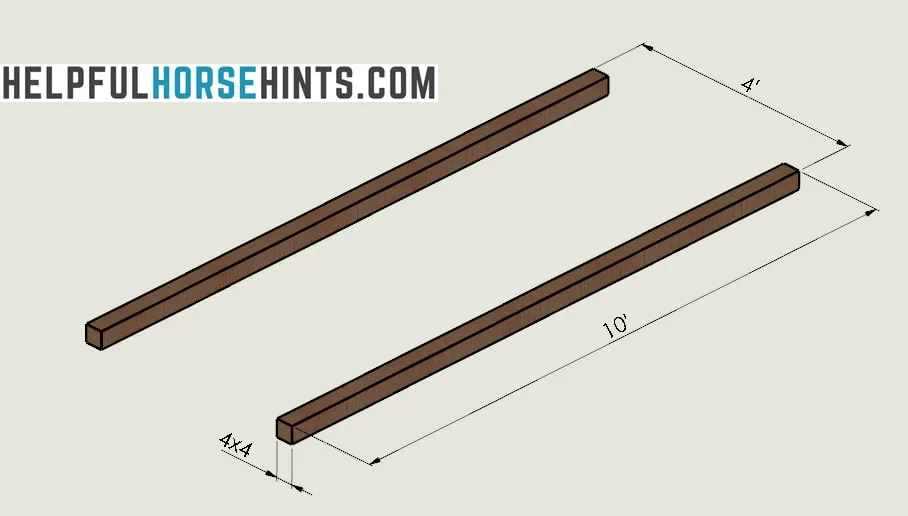

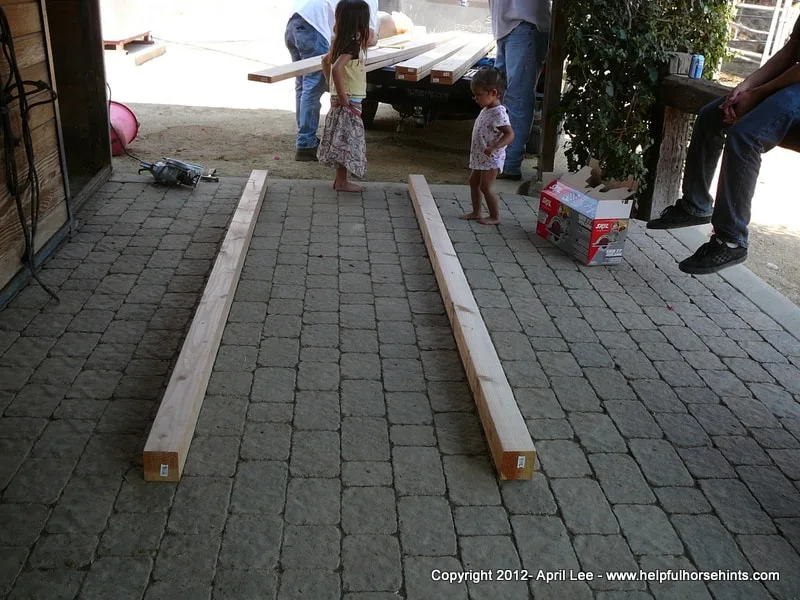
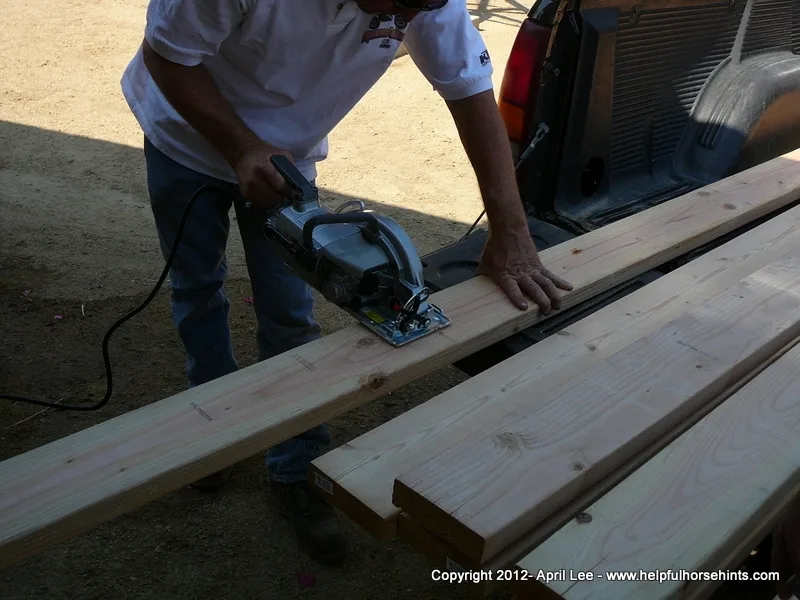
2. Cut remaining 2×4′s to size.


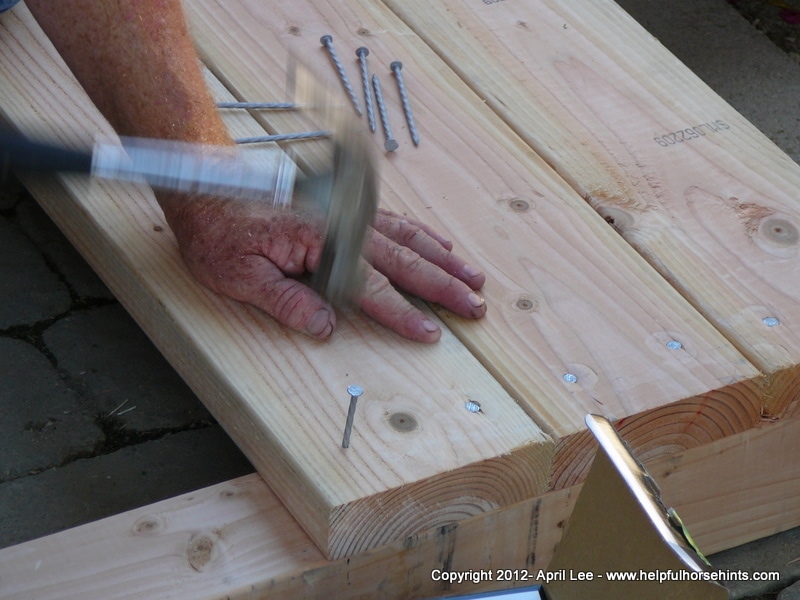
3. Hand place and then nail / screw boards one at a time securing to the 4×4′s.

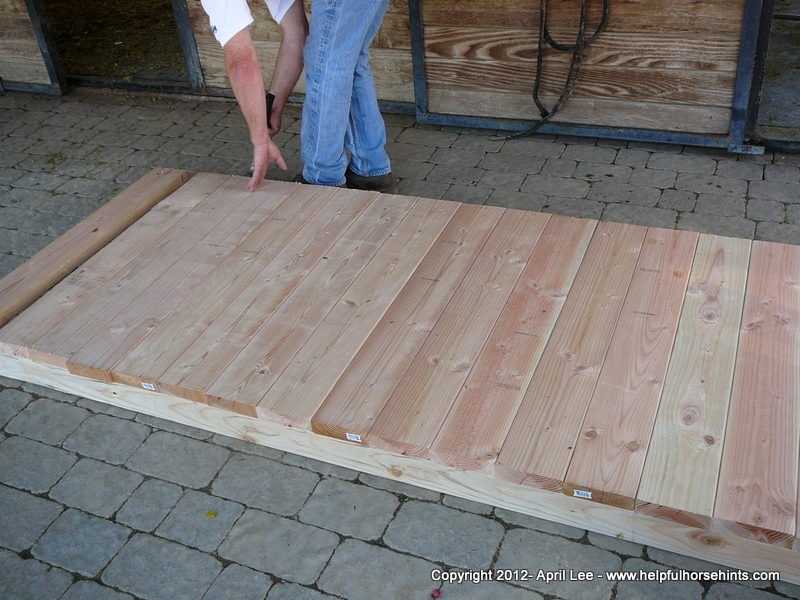

4. Let the horses enjoy!

How to Build a Teeter Totter Bridge for Horses
Once your horse has mastered the basic, flat bridge, you know it is time to mix things up. One of the easiest ways to do that is to make this bridge a teeter totter bridge.
This is just an easy add-on to the DIY horse bridge we made above. You will need a couple extra pieces of 4×4 and either a round piece of OSB to go under it (you could use a wood fence post too).
1. Use the bridge above as your starting point.
2. Cut 2 pieces of 4×4 to the width of the bridge.
2. Secure these pieces to the underside of the bridge with enough gap for the OSB to fit between them easily.

3. Cut the wooden post to the width of the bridge.
4. Slide post under bridge.
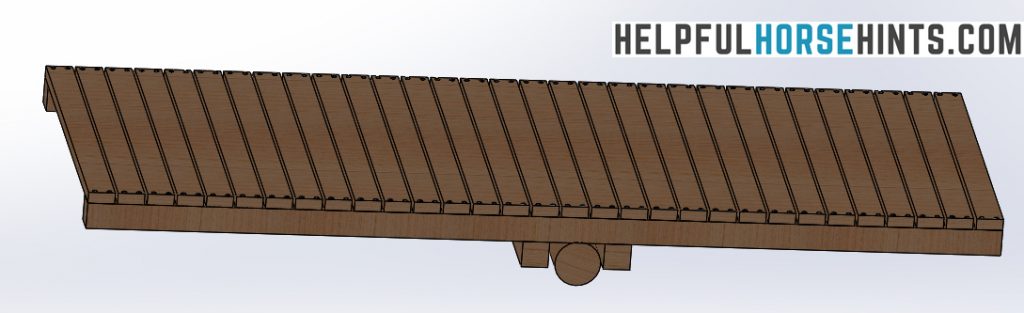

The 4×4 pieces will keep the bridge from sliding as it teeters back and forth on the pipe. You can use different diameters of wood or thick walled OSB pipes to make the teeter steeper or shallower depending on your horse’s skill.
We also used this bridge with just a piece of pipe under for years. Occasionally it would roll on the OSB startling a horse. As with anything else around horses, use caution.
Mixing It Up
Vary Size: You can mix things up by making a taller bridge or a narrower one. For a taller bridge, you may have to alter construction depending on the height and width.
Add Other Elements: In this picture we added a flat, round piece of wood to the top to make the bridge “different” than it usually was. The horses were acclimated to crossing the simulated “sewer” obstacle and horse bridge independently, then we combined them.

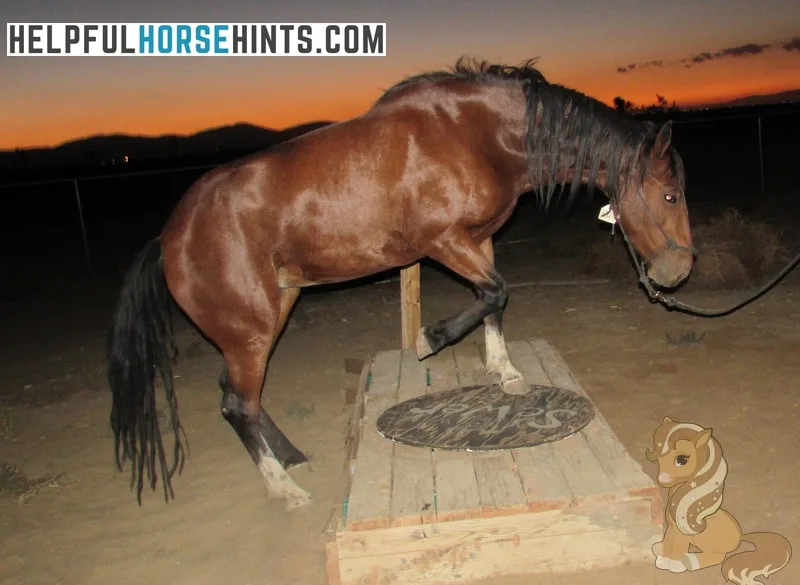
The second time we built a bridge we made it a little longer. This gave a more pronounced “teeter” effect for the horses when we used it as a teeter totter. The disadvantage is that we also made it narrower. As part of teaching them to cross the bridge we often had them cross the middle and most learned they could just jump it.
In this picture the teeter is reduced because we have removed the pipe from the middle so it is just a slight up and down.

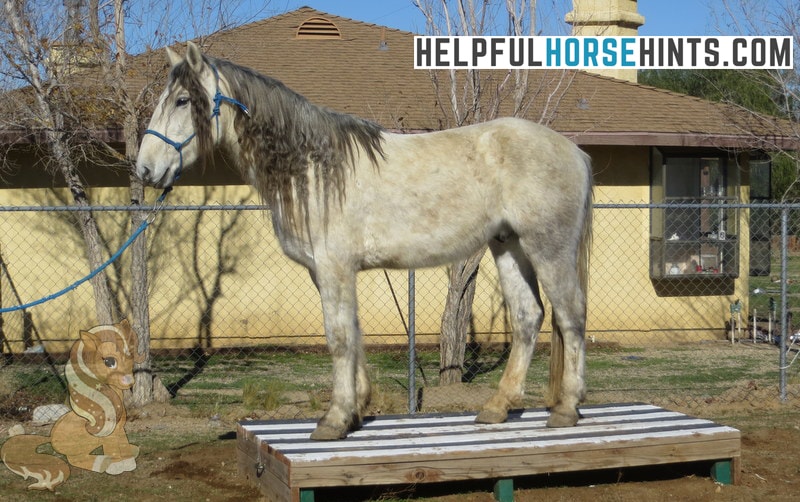
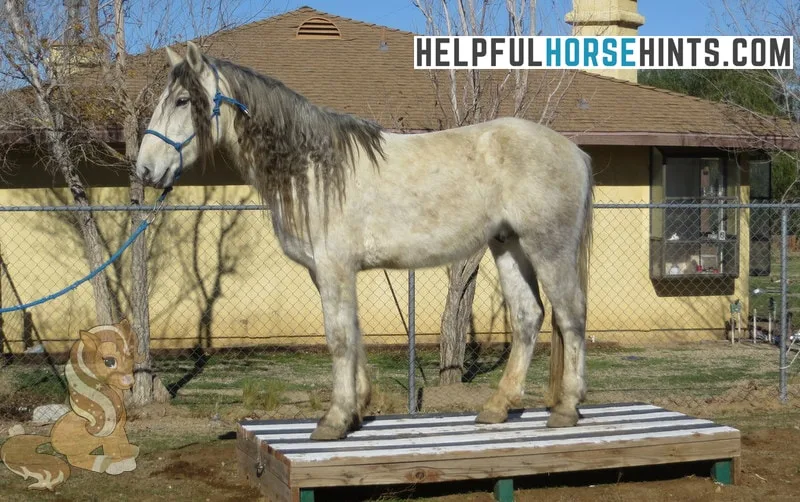
Paint It – Painting the bridge can add a new element here. In this case we alternated black and white paint. The idea was to create an optical illusion for the horse who may think there were gaps in the wood (similiar to a cattle guard appearance).
Conclusion
Building your own horse bridge obstacle or horse teeter bridge obstacle can be a great source of stimulation and challenge for your horses. Encourage them to approach new situations and even uneven ground by building a teeter totter bridge with the plans provided.