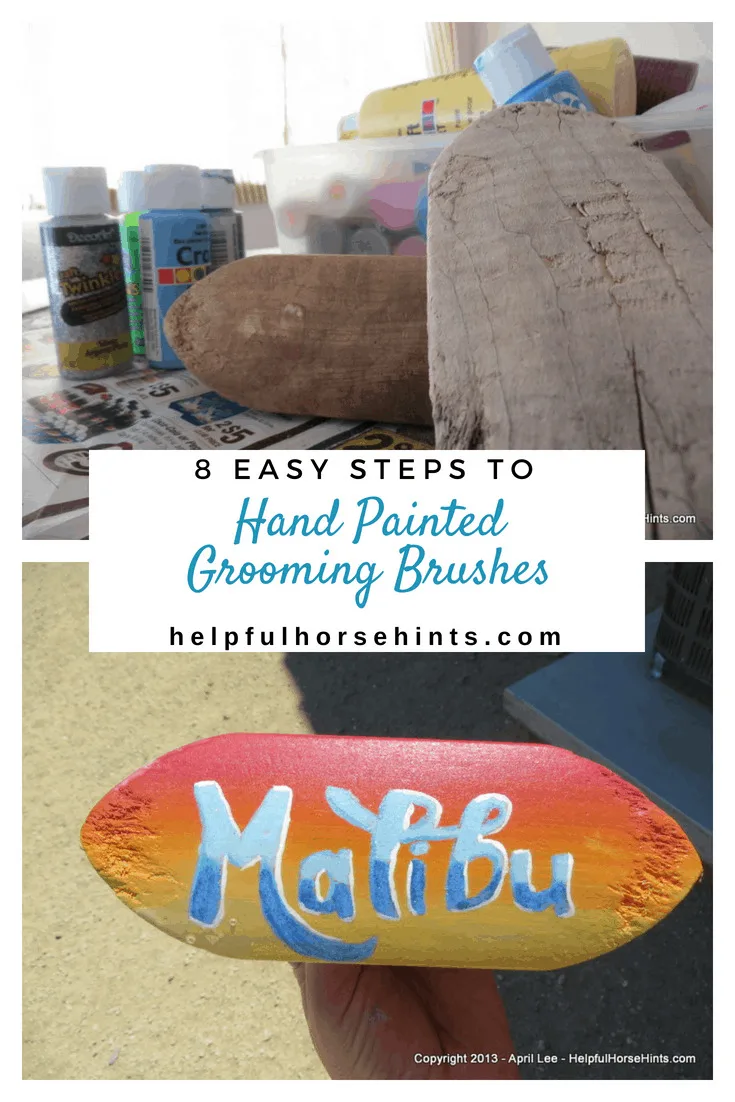
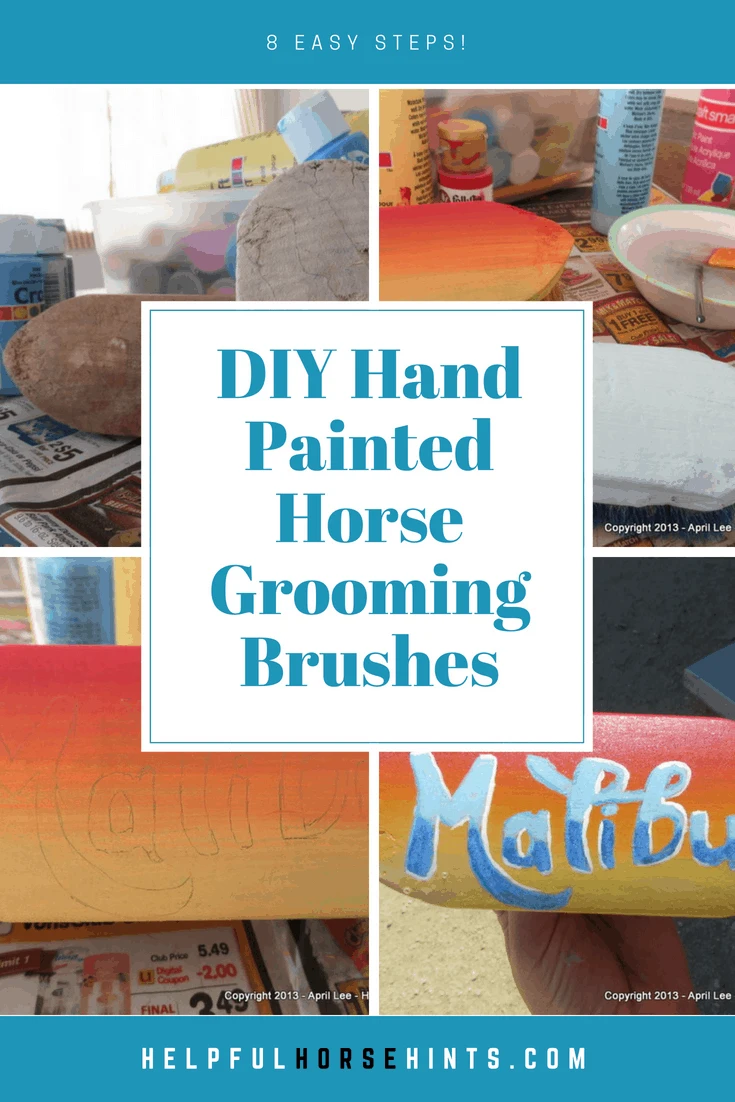
Custom, hand-painted horse grooming brushes can cost $20 and up plus shipping from sites like Etsy and Ebay. Don’t get me wrong, the commercially available brushes are gorgeous, just Google them and you will see. This is, however, ABSOLUTELY something you can do at home for just a few dollars. In fact, it could wind up costing you next to nothing if you have the paints on hand.
Don’t worry about your artistic skills, this project is simple and easy enough for equestrian enthusiasts of all ages. The total dollar amount I spent on this project = $0.00. I had everything on hand.
Table of Contents
Materials:
- Used or New Wood Backed Brushes
- Sheet of Sandpaper
- Paint
- Various Paint Brushes
- Polycrylic or Polyurethane for waterproofing
- Pencil
Directions
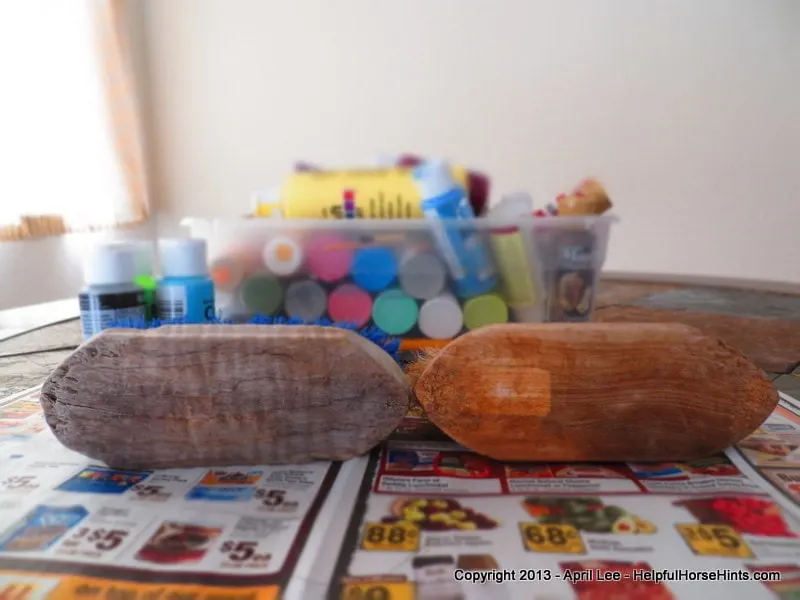
Step 1: Assemble supplies
As you can see by the photos below, you can absolutely use your old wooden horse brushes for this process. In this case, I just grabbed two of the oldest looking brushes in my tote.
If you want to buy new grooming brushes for this project, that’s OK too. Horse grooming brushes can last a decade or more if well taken care of. Of course, if this is a gift, new brushes are absolutely the way to go.
Note: You can do this project with plastic-backed brushes but you will need to apply a base coat or primer first so that the paint will stick. There are primers on the market specially made for that very purpose.
Aside from the brushes, you need your paints, a surface to paint on and some brushes. If you have stencils or glitter, bring those too!


Step 2: Lightly sand the area to be painted.
Wipe off any sawdust with a damp rag. The damp rag will also serve to clean the back of the brush if it is not new so be sure to scrub.
I did not use soap. You could if your brushes were dirty. Let the brushes dry thoroughly before starting to paint.
Step 3: Apply a base coat.
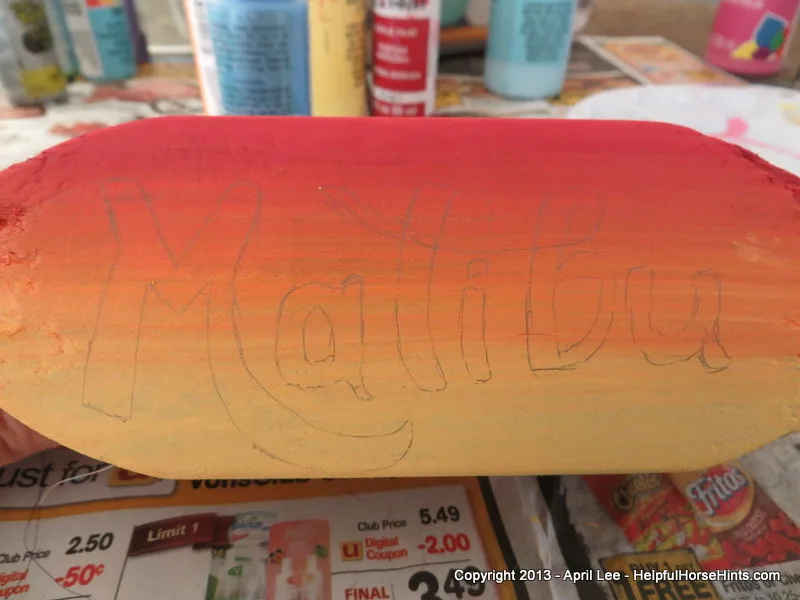
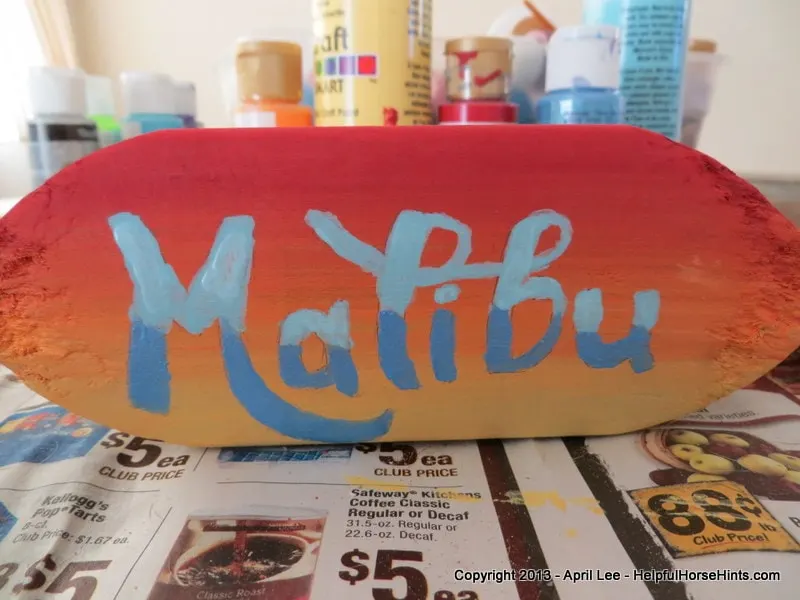
I did two different brushes for illustration. One solid color and one gradient. Feel free to experiment with colors. Worst-case scenario you sand the brush and repaint it!
The gradient is easy to do. I used three colors: yellow, orange, and red. I start with the lighter color, yellow, and apply with a semi wet brush.


Having the paint wetter prevents it from drying as fast which is important for blending. Then I use the darker color on top. Lastly, I use the medium color to blend the two together.
Use what works for you. You could also do dark to light or light to dark. Clean your brush in between colors.
For the other brush, I just used a solid blue. One thing to keep in mind is that on older brushes you may have to pounce with the paintbrush to get the paint into all the nooks and crannies.
Allow base coat to dry before proceeding.
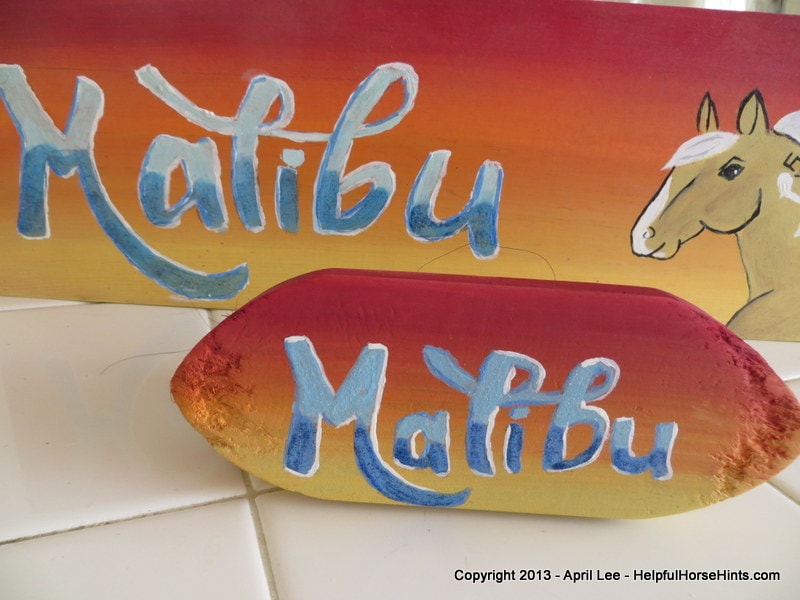
The rest of these steps will show you the process of finishing the brush for my horse, Malibu. Keep in mind, you can totally do your own thing. The possibilities are endless!
Step 4: Start Embellishing
Once base coat has dried it is time to start embellishing the brush. I’ll continue with just one brush from here on out.
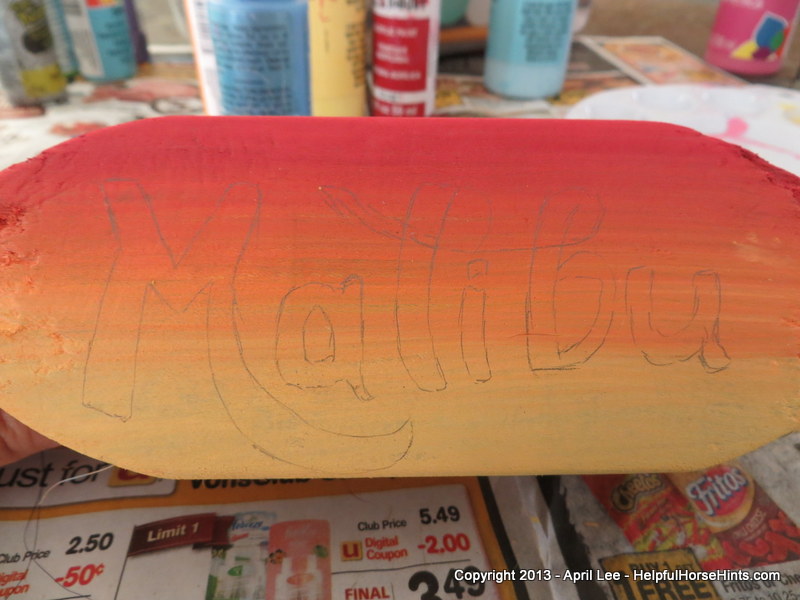
This particular brush is being made to match a stall sign I had previously done. First I outline the horse’s name with pencil.
You can draw your own letters or, find one you like on a free site like DaFont.com. Then simply print it out on a printer and trace by pressing hard with a pencil. I show you how to do that in more detail in my custom stall sign tutorial.
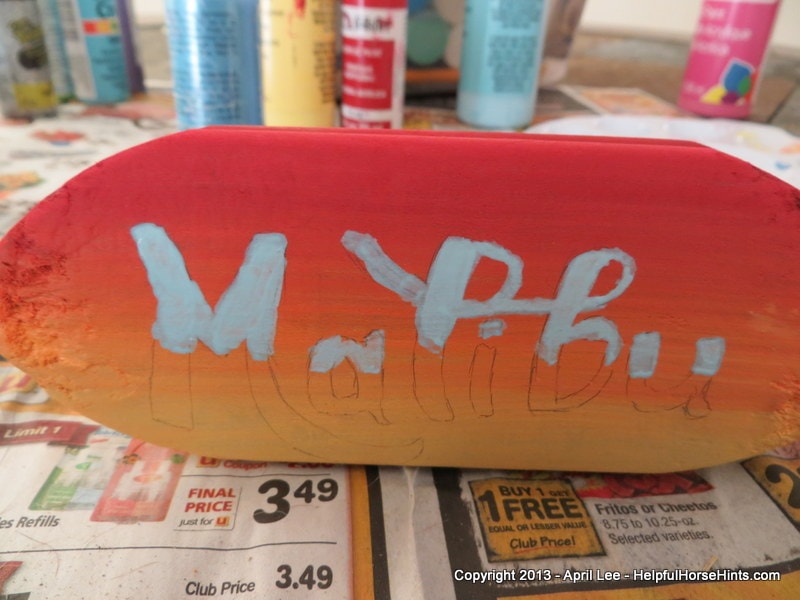
Step 5: Add a name.
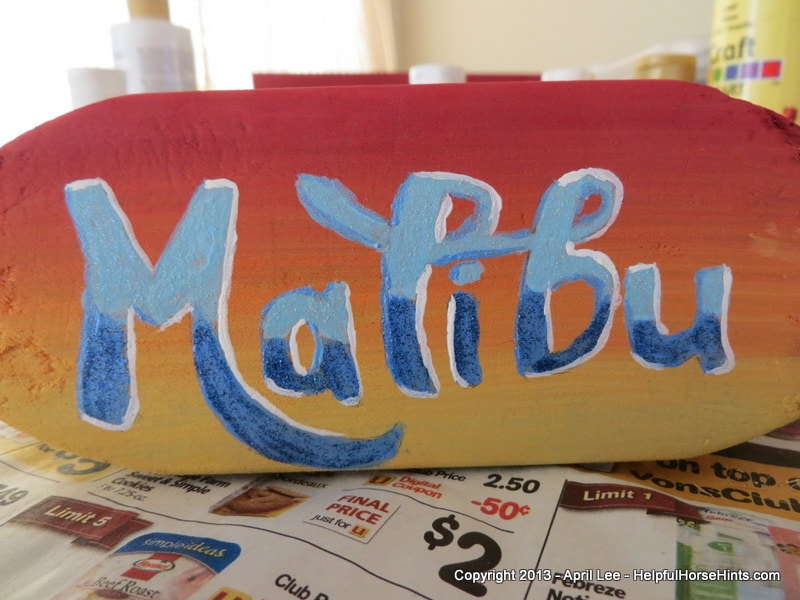
Next, I begin filling in the name. I could use one color. For this name, I chose to use two. I started with light blue at the top.
I knew I wanted to do a gradient, kind of like the ocean, so filling in the name was a two-step process.
In hindsight, it probably would have been fine to outline the letters in all light blue
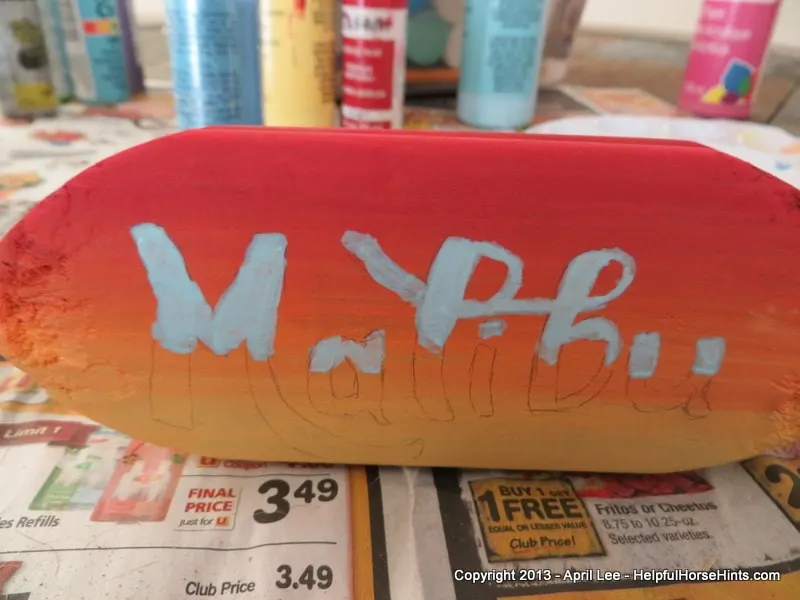
Step 6: Add A Contrasting Color
Next, I added the dark blue to the base of the letter. A great idea for font design ideas is to do an image search for “hand painted signs”, “creative lettering”, and “poster lettering”.
After my letters were filled in, this is what I was left with.
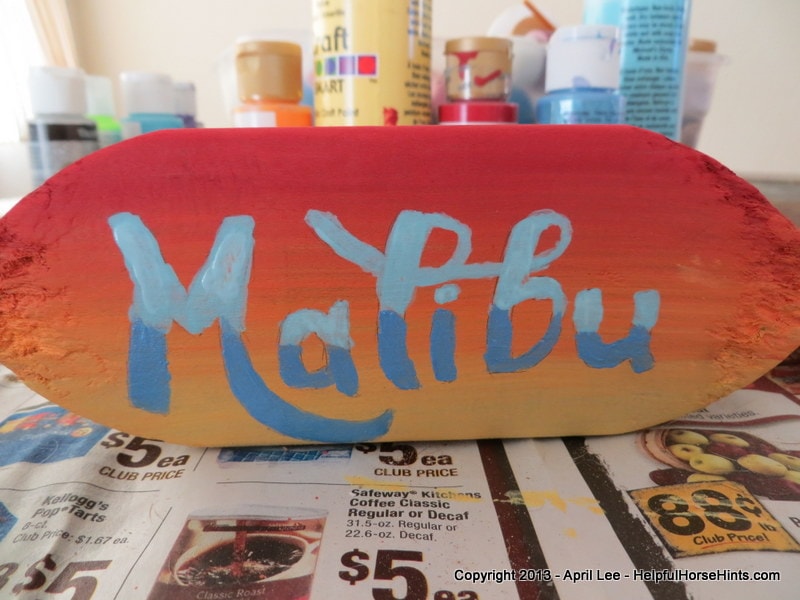
Step 7: Add Glitter
Apply glitter to the letters in the name. Add shading/outline to the edges of the letters. I used white and blue.
This part is kind of difficult for me because I am NOT artistically inclined. I just looked up some other hand painted signs to get an idea of where the shading should go.
I wound up keeping all the white to the right of the letters and using blue everywhere else. This is where you have the opportunity to hide any remaining pencil marks.

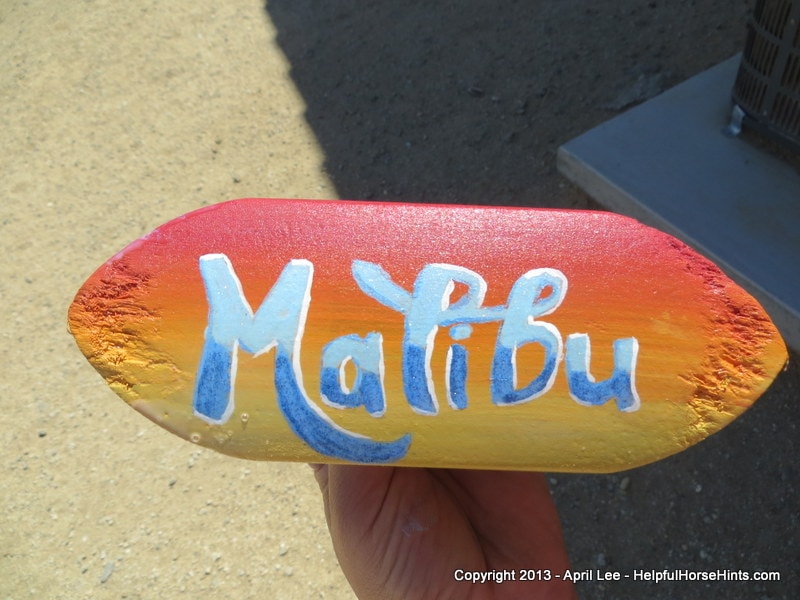
Step 8: Spray with Polyacrylic for protection.
I did 2 coats and tried really hard not to get it on the bristles. You could mask them off with masking tape as well.
The polyacrylic is important to protect the paint you just spent so much time applying. It will provide a protective finish on your brush.
This particular brush was still going strong years later before it disappeared into the abyss that all good grooming brushes and hoofpicks eventually find, never to be seen again.

Finished Product: All done! The finished product! I think this hand painted horse grooming brush matches her stall sign pretty well!

I haven’t had a chance to make my own video for this tutorial but, this one is pretty spot on. Have a look!
RELATED POSTS